My wife Kristy and I made a few videos. Before anyone gets bent out of shape about the name of the videos, I feel that it is appropriate. Technically the header is 50% made by Bisimoto and 50% made by the Acid Beaver. Thus "Bisi Beaver". It seems people think Mr. Ezerioha might get upset over the name. I certainly hope that he does not. Anyway here are the videos. Enjoy!
This weekend I will be pulling the header off to remove the sway bar and to massage a little more clearance for the header. I don't want it to crack and when idling at 800 rpm I can hear the header clanking against the sway bar. I will do anything to prevent any more cracks appearing in my header.
Here's my to do list:
-remove header, remove sway bar, pound body, install header and header brace
-fab sheet metal head light cover
-remove windshield
-fix rust
-install windshield
-clean and paint interior classic grey
I'm slowly but surely getting there. I hope to get the list knocked out. April 14th is Bandimere's opening day. My deadline is approaching fast!
Thursday, March 29, 2012
Sunday, March 25, 2012
Another Sunday Update
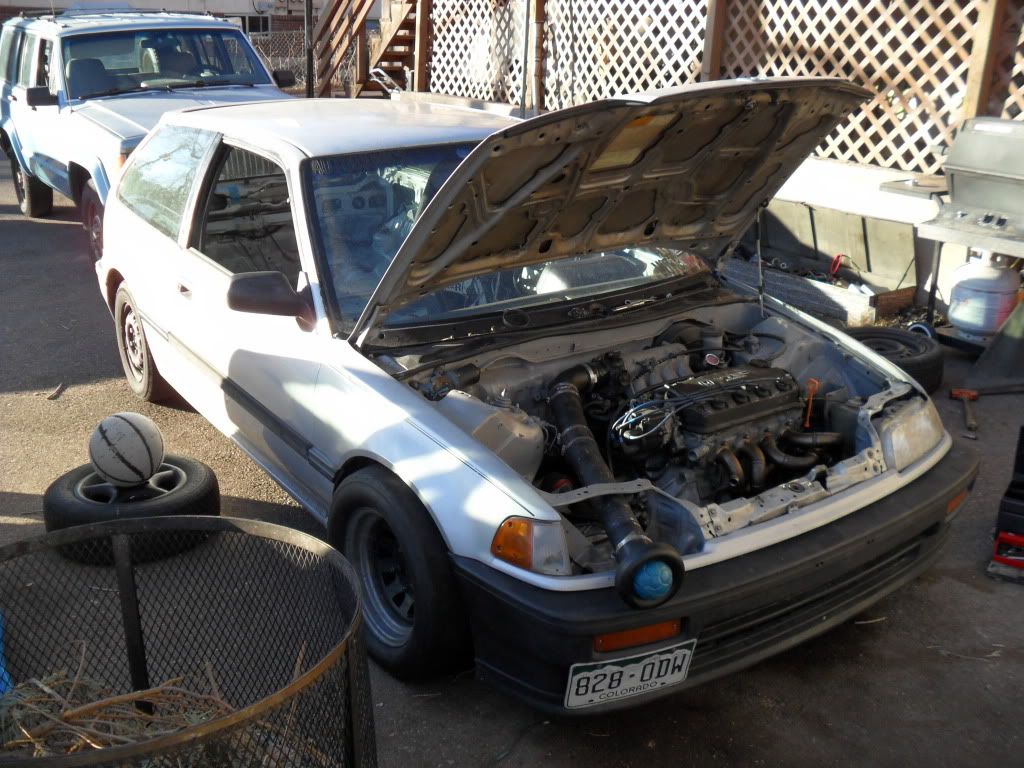
It was beautiful weather today in Colorado Springs, Colorado. Temps were at a nice 73* degrees F and only 5% humidity. I took this opportunity to get work done to the '88.
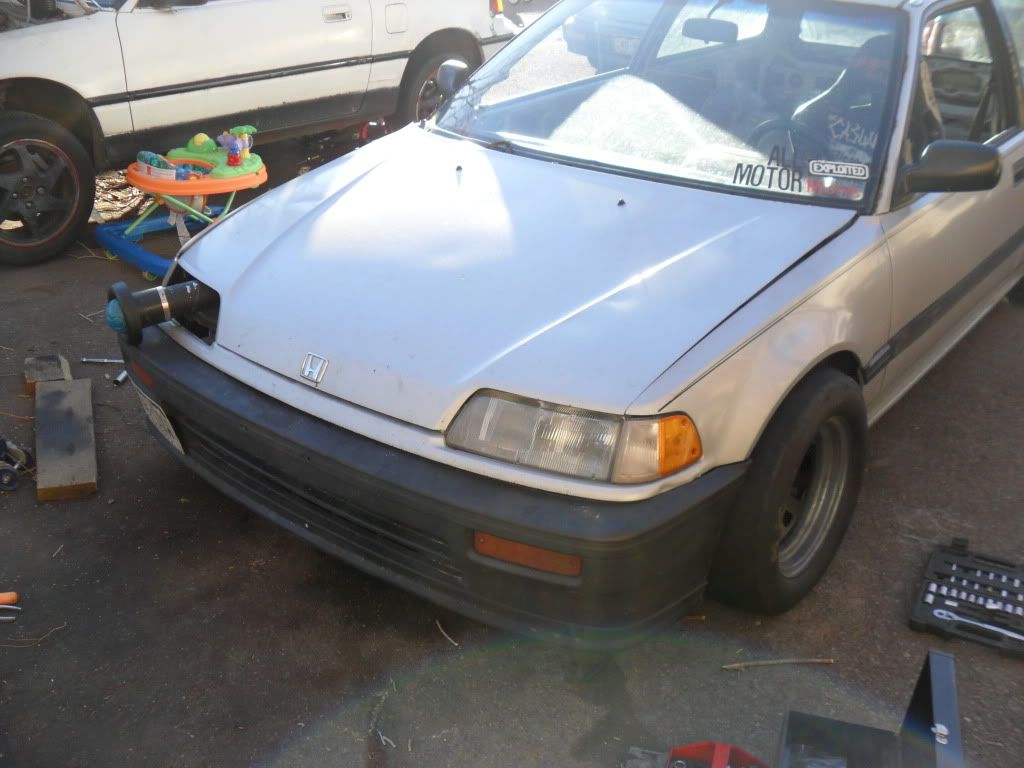
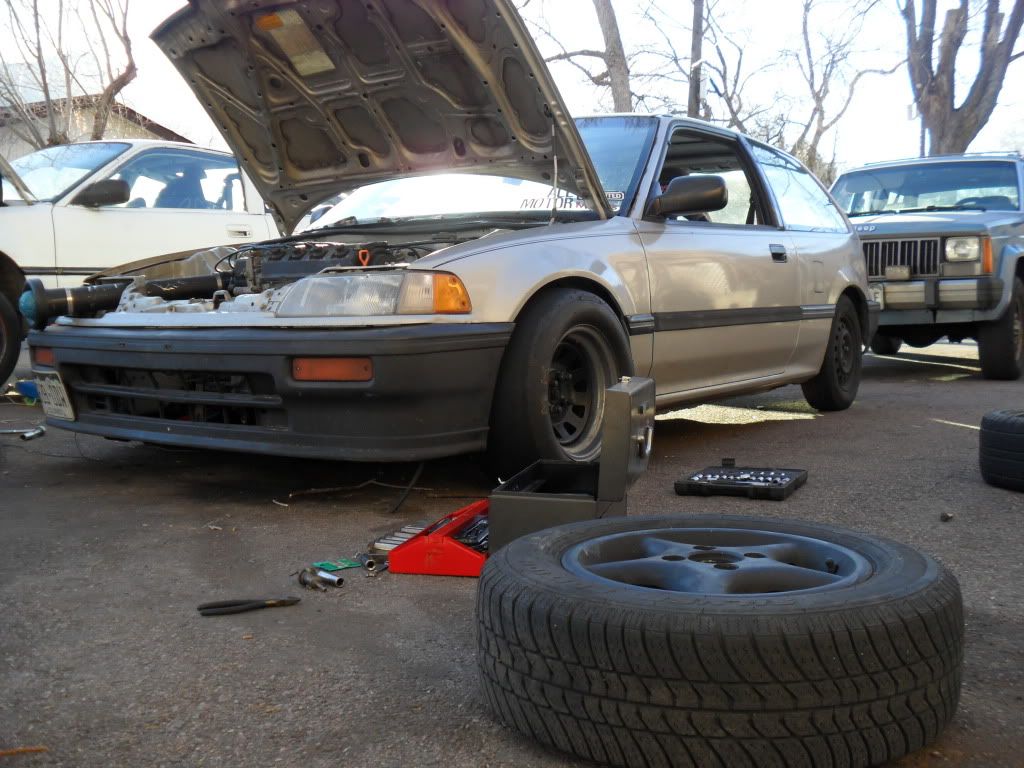
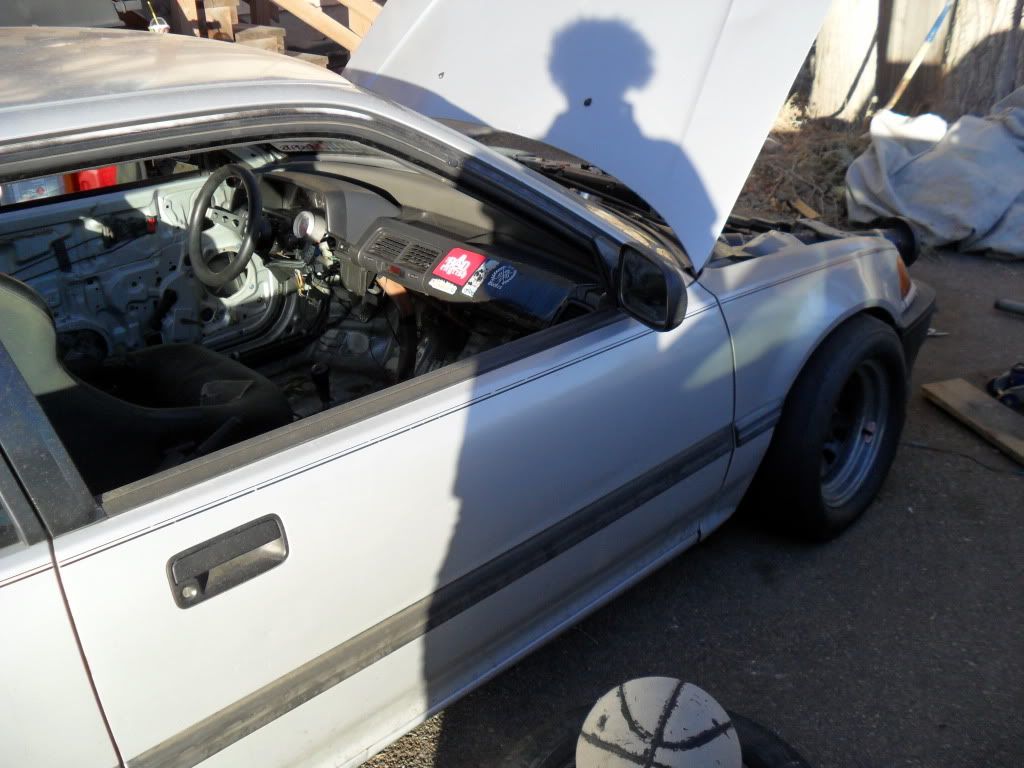
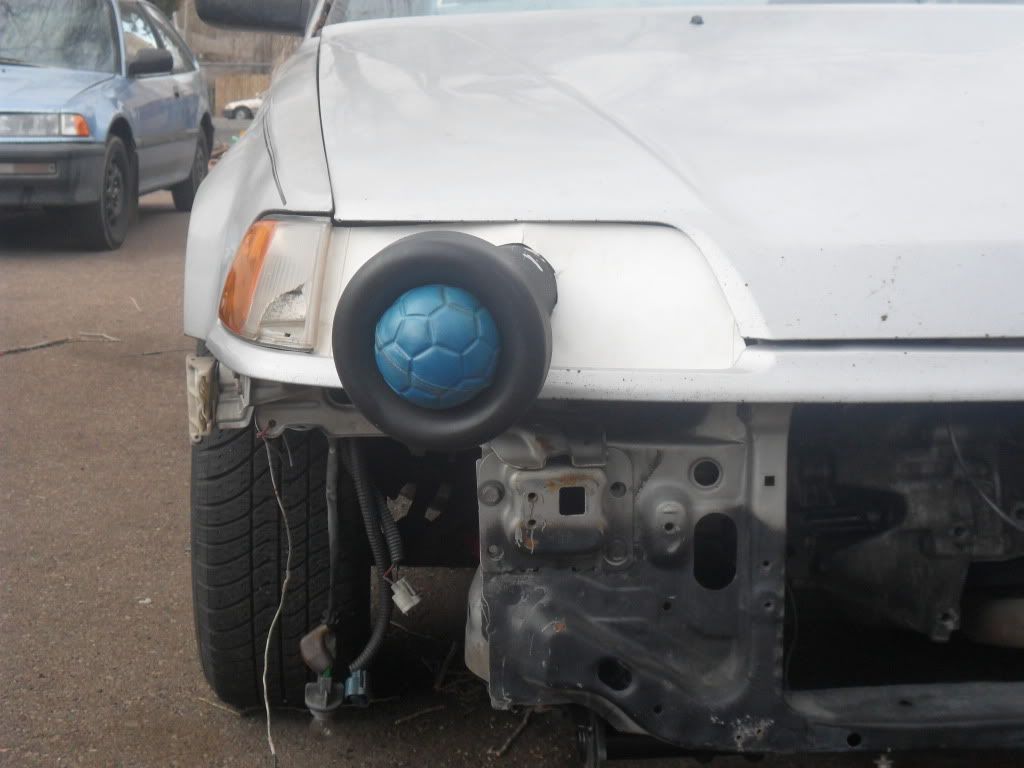
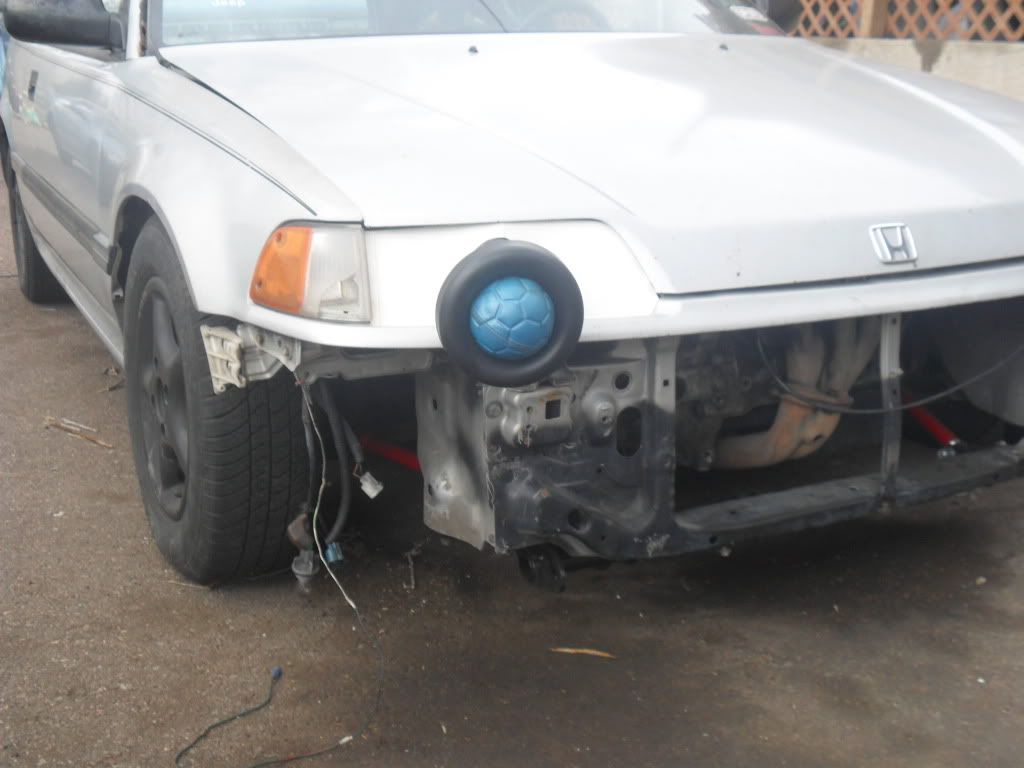
I went to Harbor Freight and bought a 4.5" angle grinder for $15 bucks. I bought some thin metal cutting blades for $5 dollars. I used these tools to chop up my hood and front radiator support. I did this so my radiator can fit nice and straight.
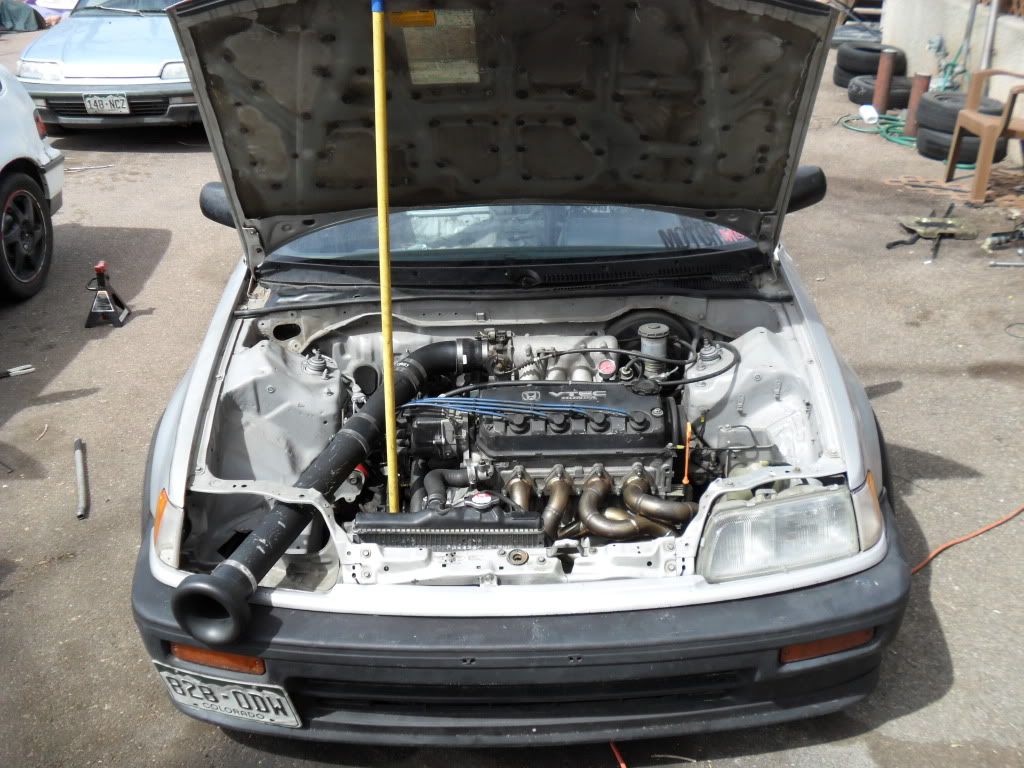
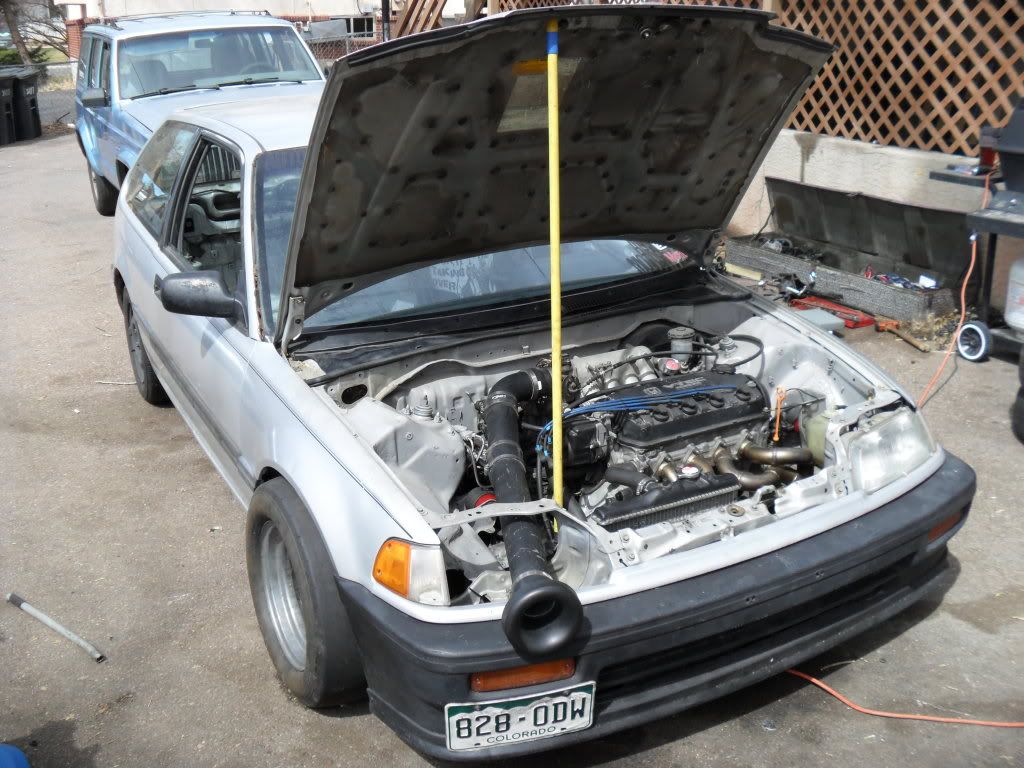
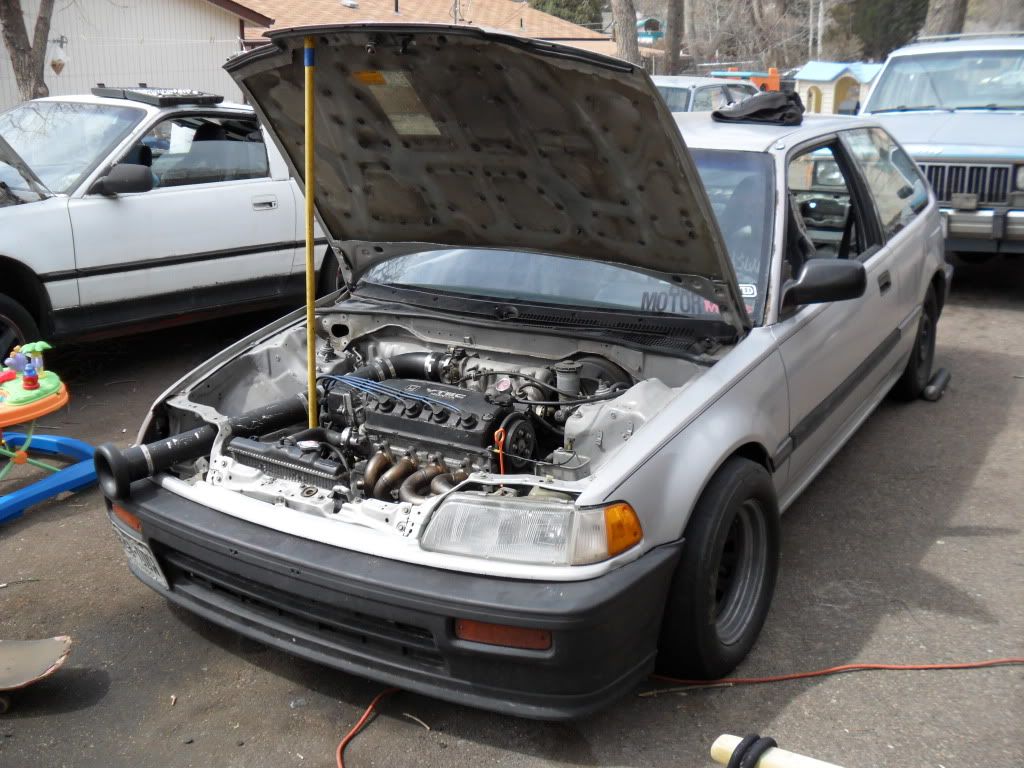
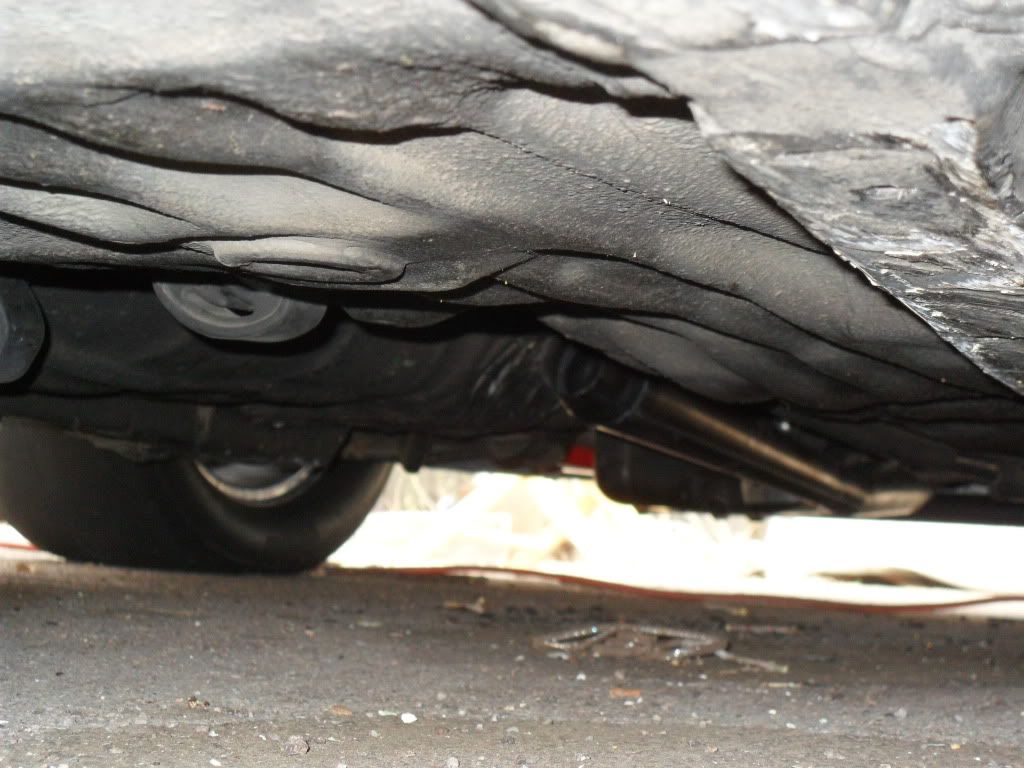
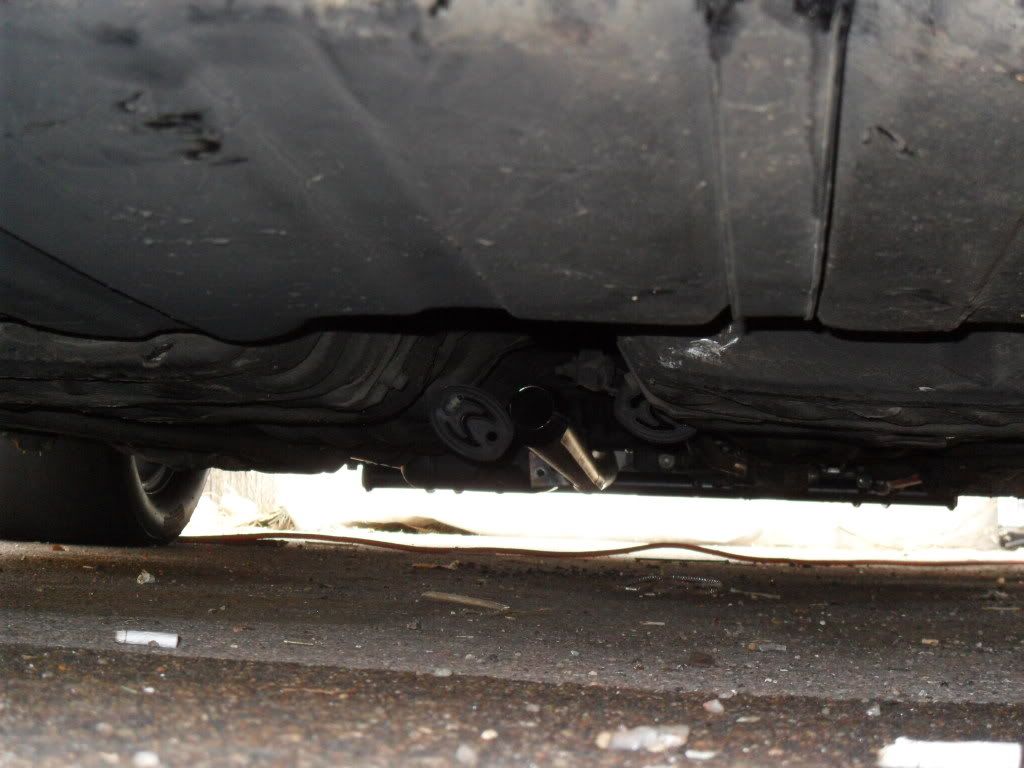
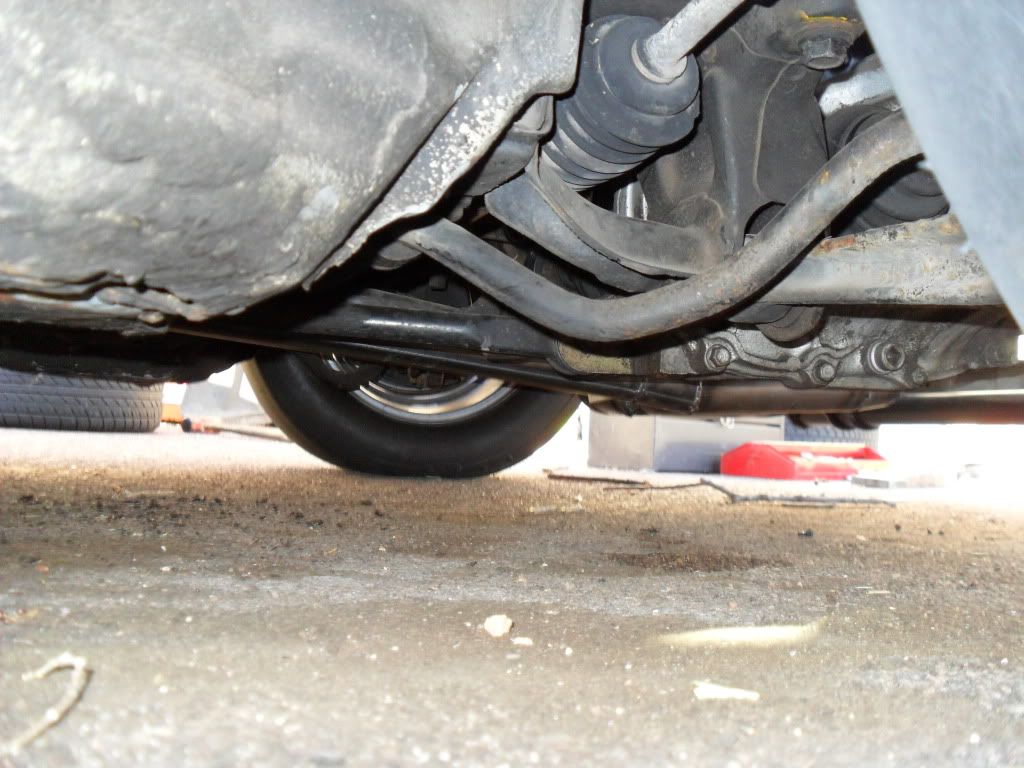
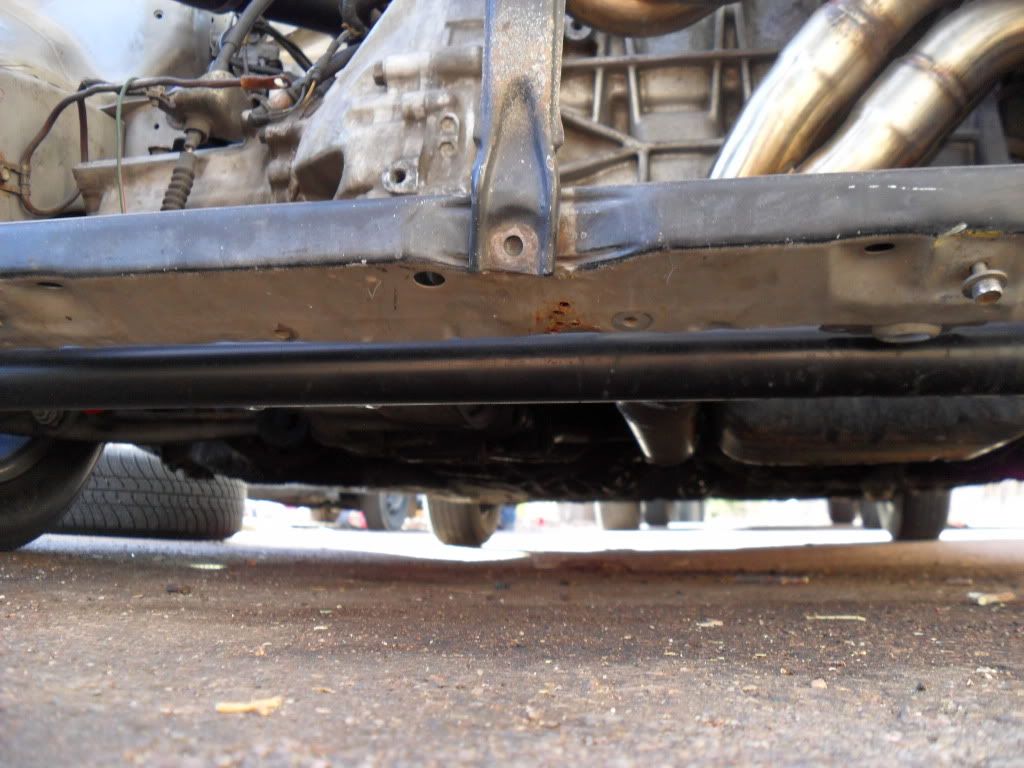
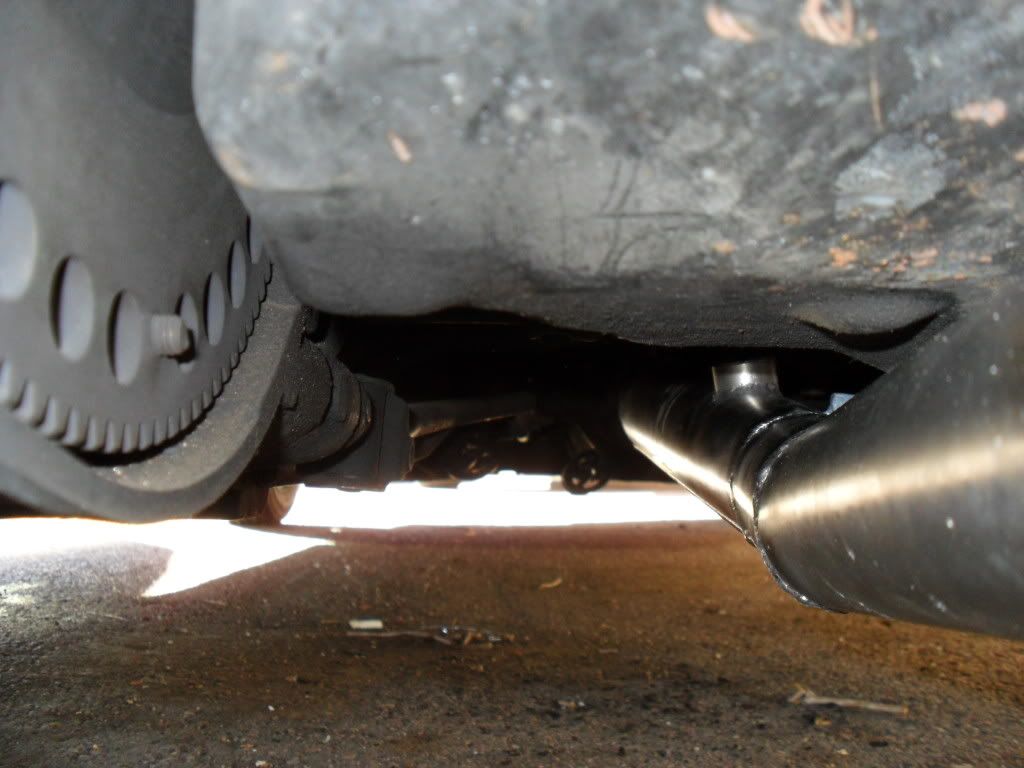
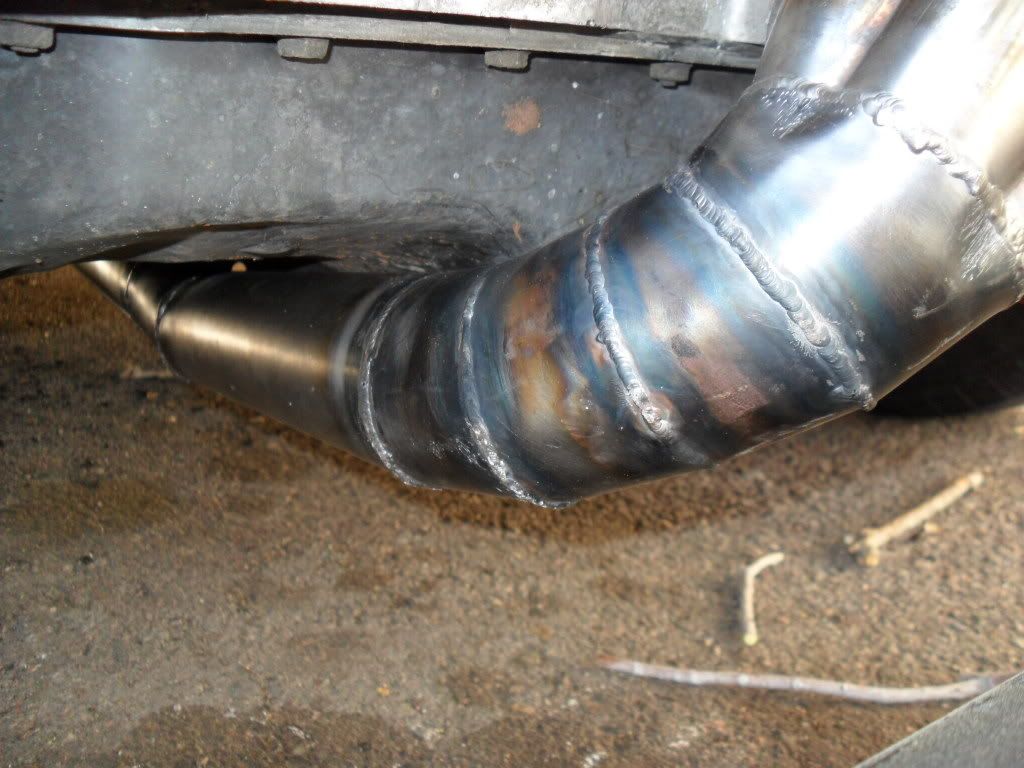
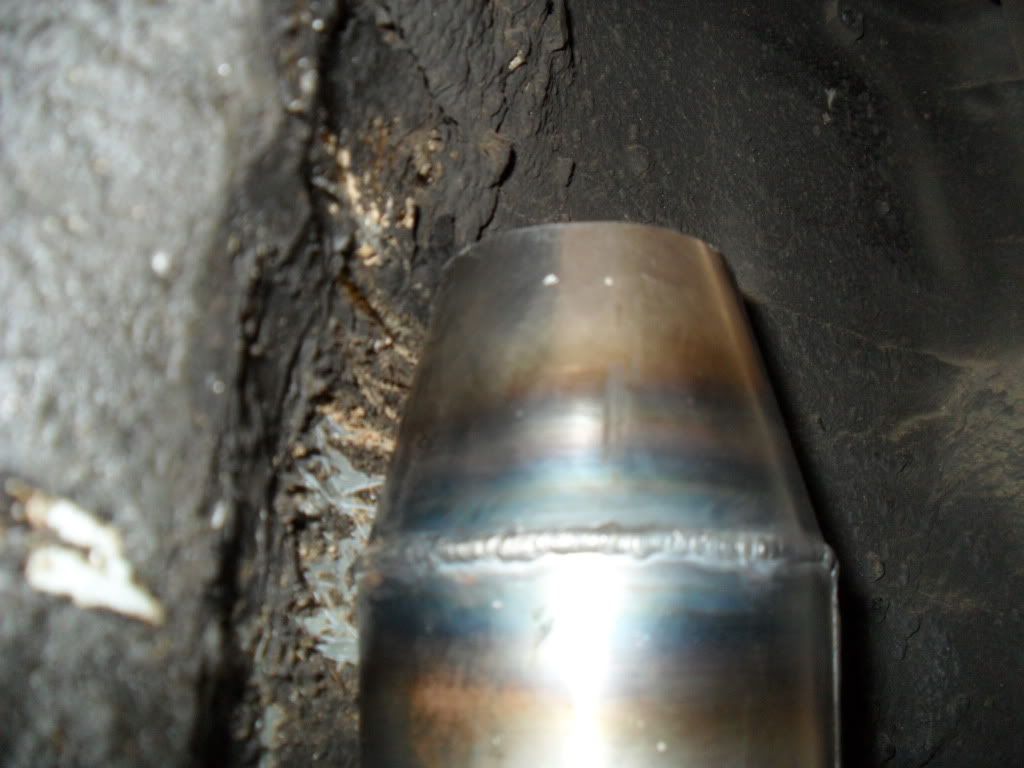
Here are a few more shots of the underside and megaphone reverse cone...
I knocked a ton of tasks off of my to do list. Here's what I have left:
-get my Ostrich back from a customer's car so I can install into my car
-create start up video
-gut doors
-fab window mount
-fab battery tie down
-remove windshield
-fix rust
-install new windshield
-test
I know a lot of people are anxious to see a start up video. As soon as I get emulator back it's time to fire my engine up. I won't be meeting up with the customer as I had hoped this evening. Tomorrow will be the day!
I went to Harbor Freight and bought a 4.5" angle grinder for $15 bucks. I bought some thin metal cutting blades for $5 dollars. I used these tools to chop up my hood and front radiator support. I did this so my radiator can fit nice and straight.


Here are a few more shots of the underside and megaphone reverse cone...


I knocked a ton of tasks off of my to do list. Here's what I have left:
-get my Ostrich back from a customer's car so I can install into my car
-create start up video
-gut doors
-fab window mount
-fab battery tie down
-remove windshield
-fix rust
-install new windshield
-test
I know a lot of people are anxious to see a start up video. As soon as I get emulator back it's time to fire my engine up. I won't be meeting up with the customer as I had hoped this evening. Tomorrow will be the day!
Friday, March 23, 2012
Big Updates Today!
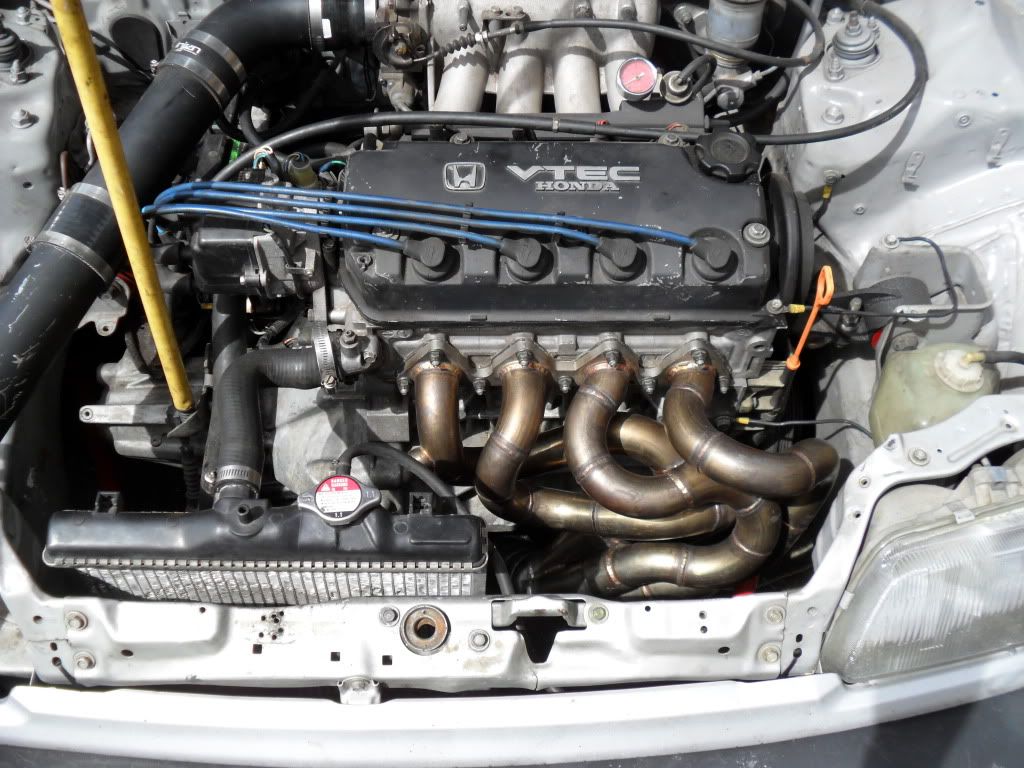
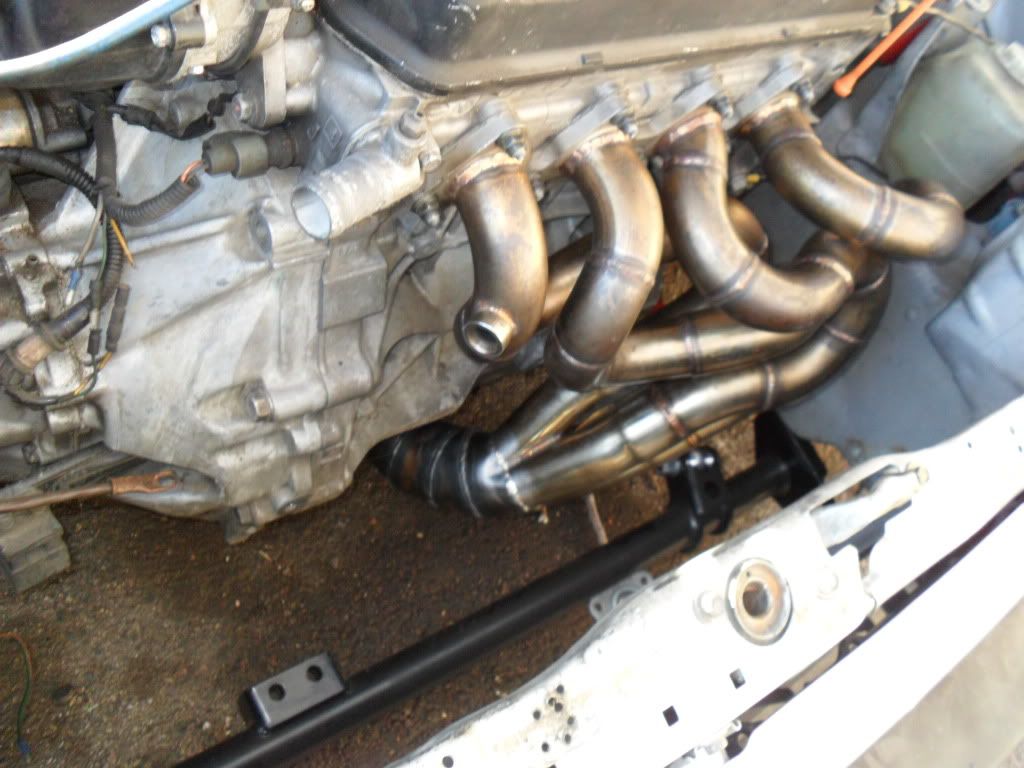
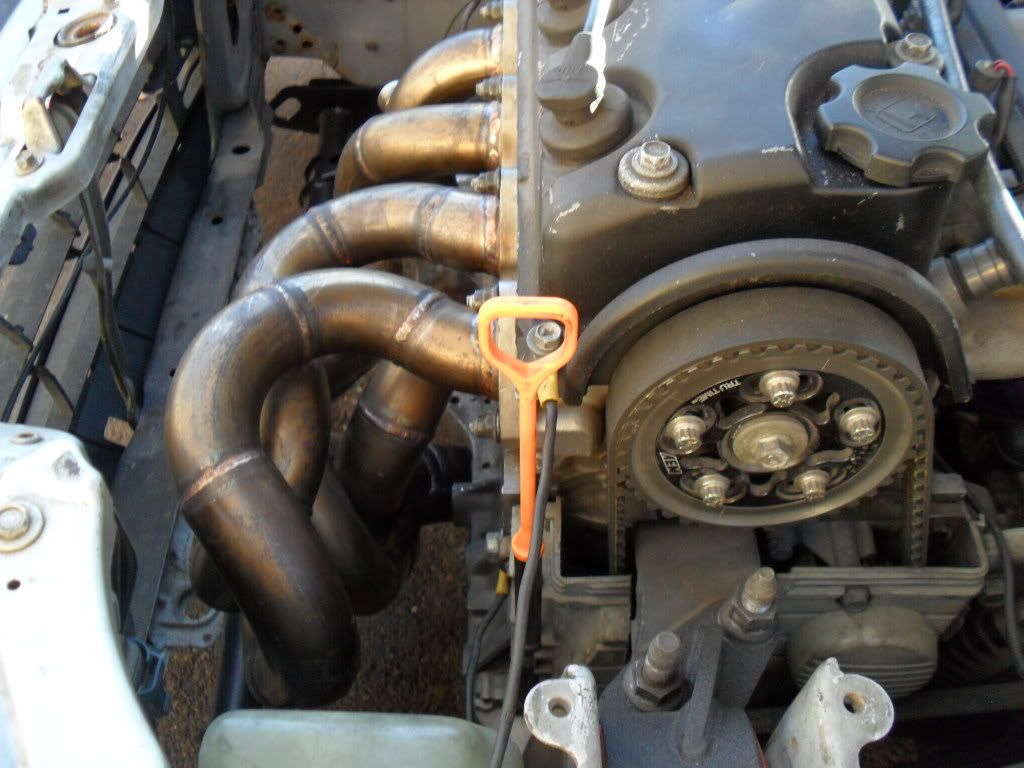
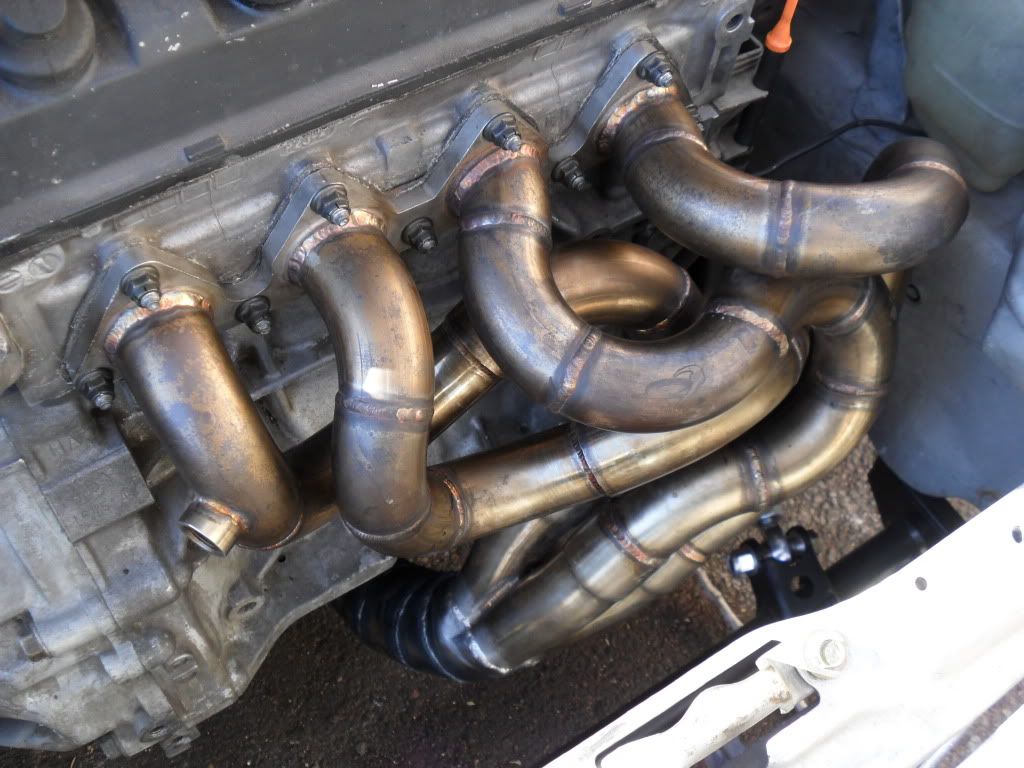
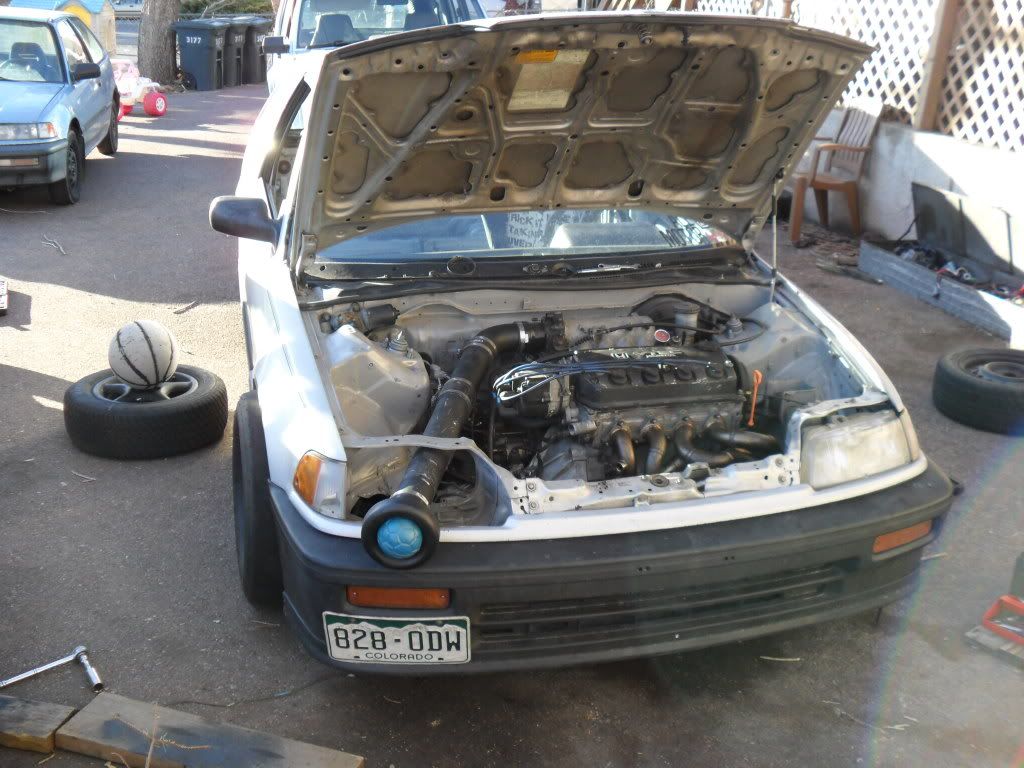
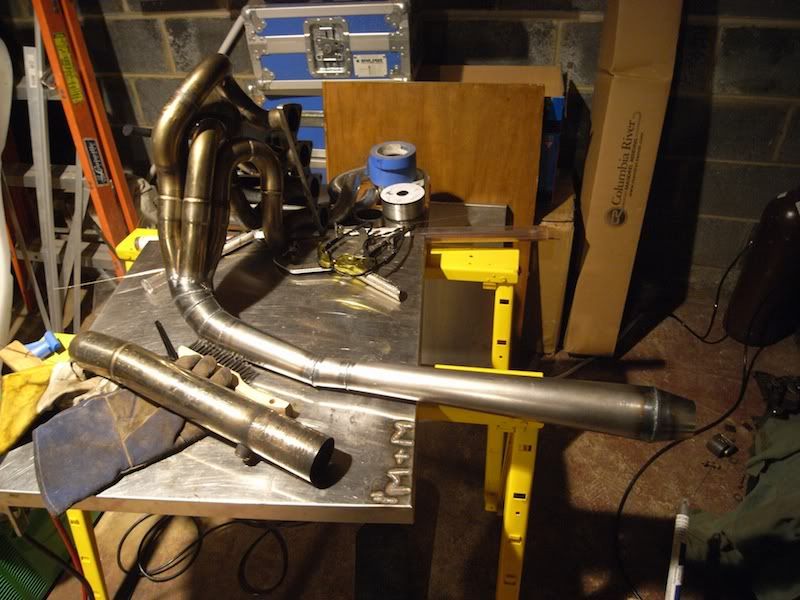
I received my Bisi Beaver header today from Matt aka the Acid Beaver. I installed the header as soon as made it home from work. It looks so nice!
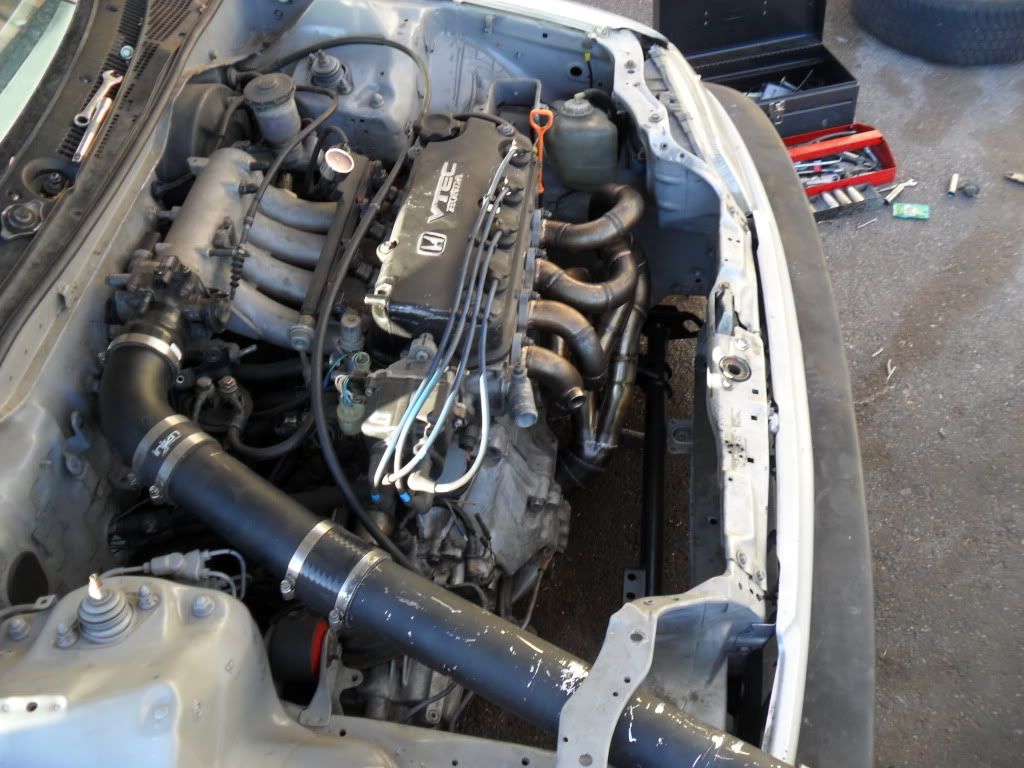
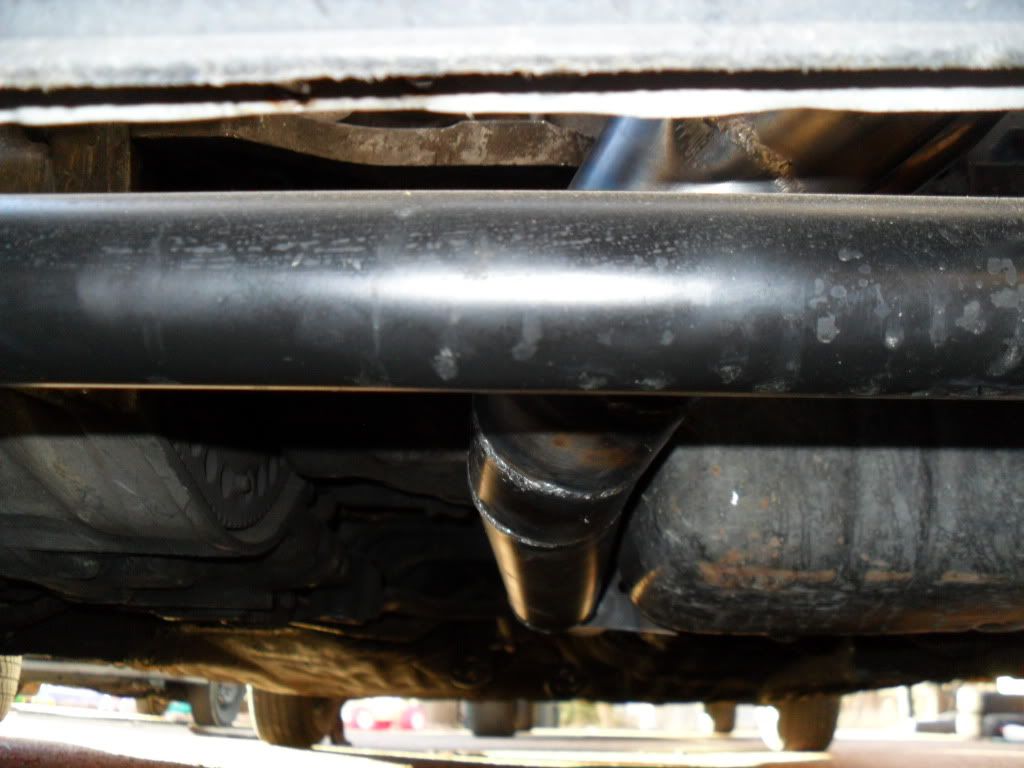
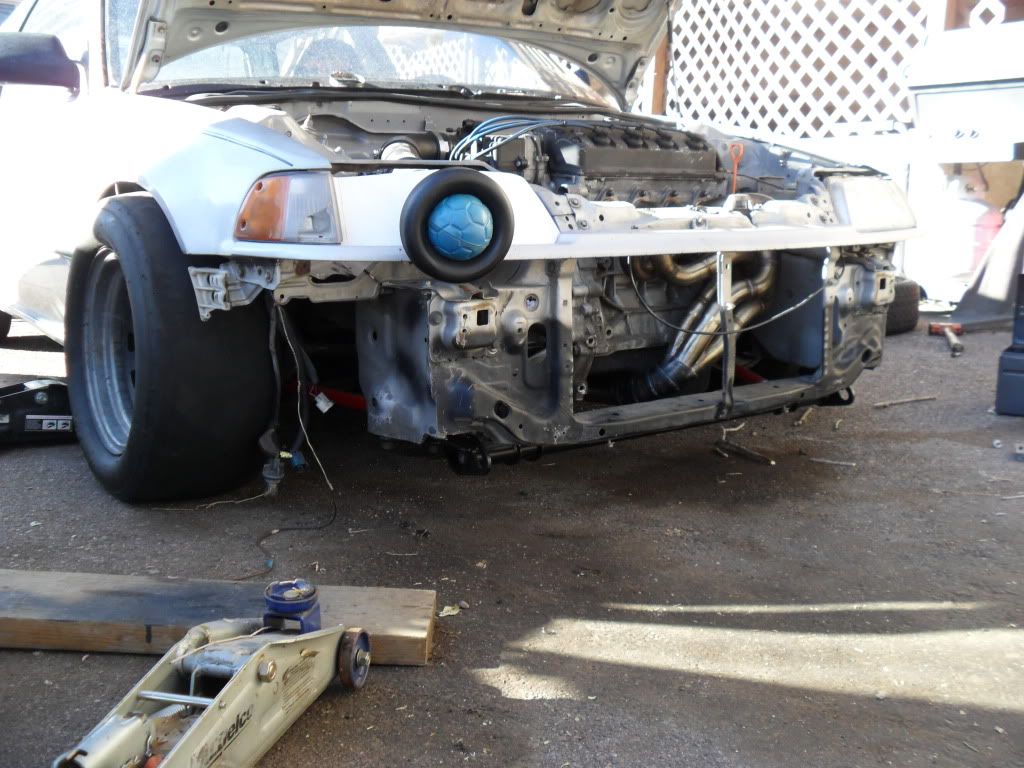
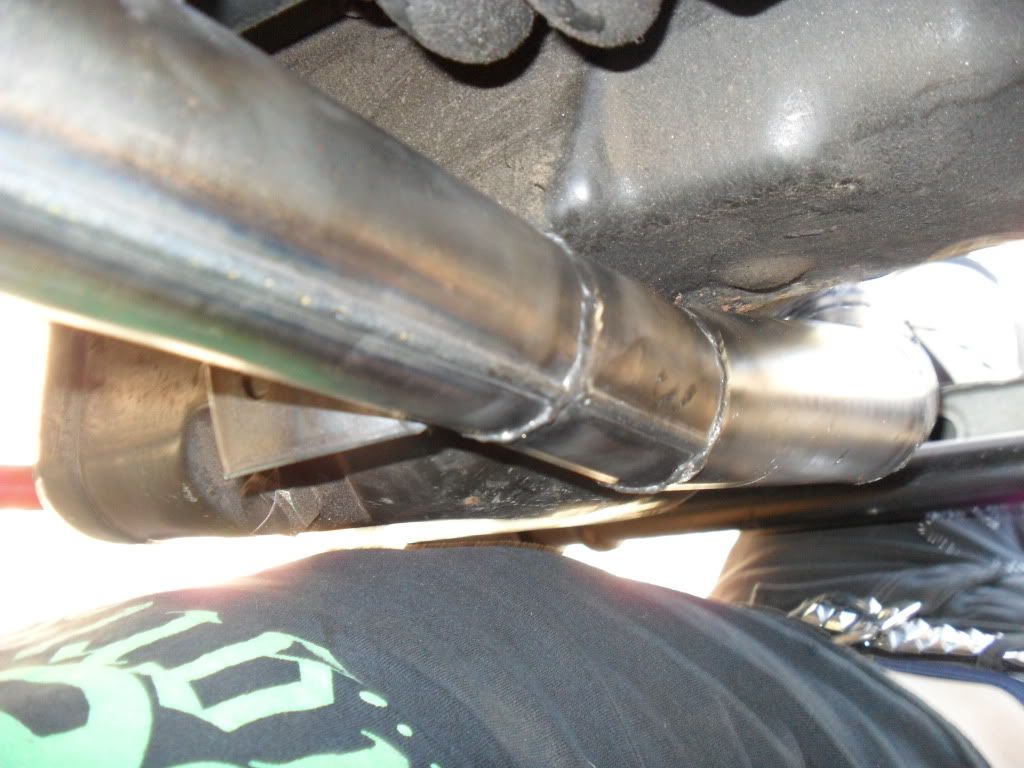
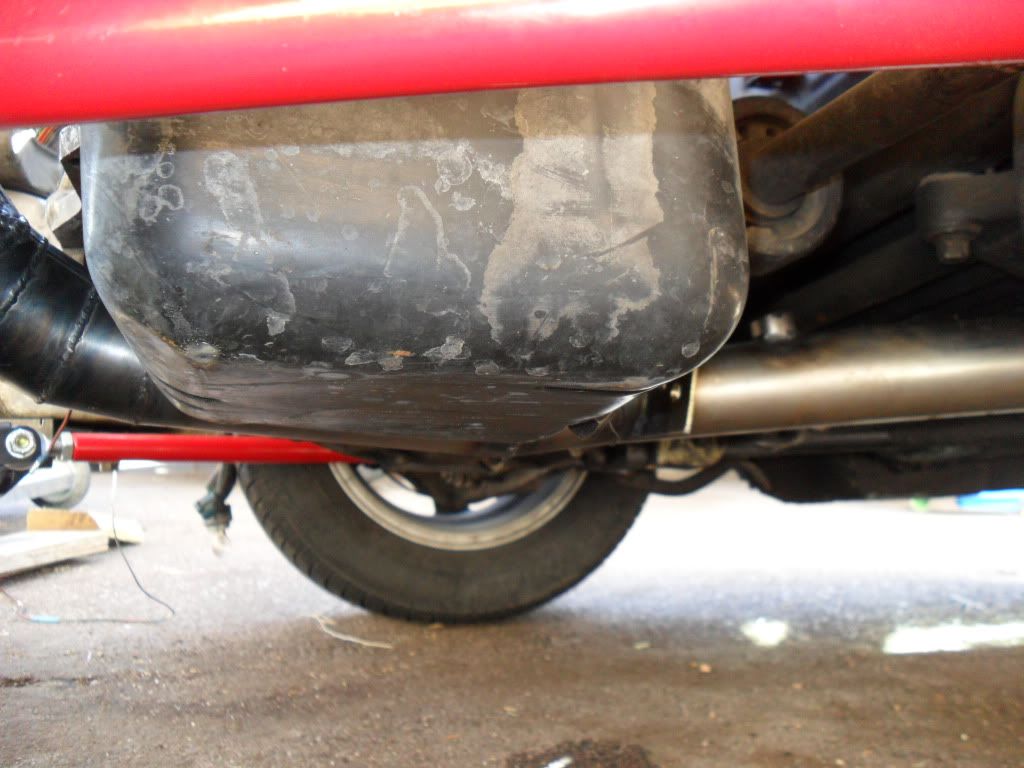
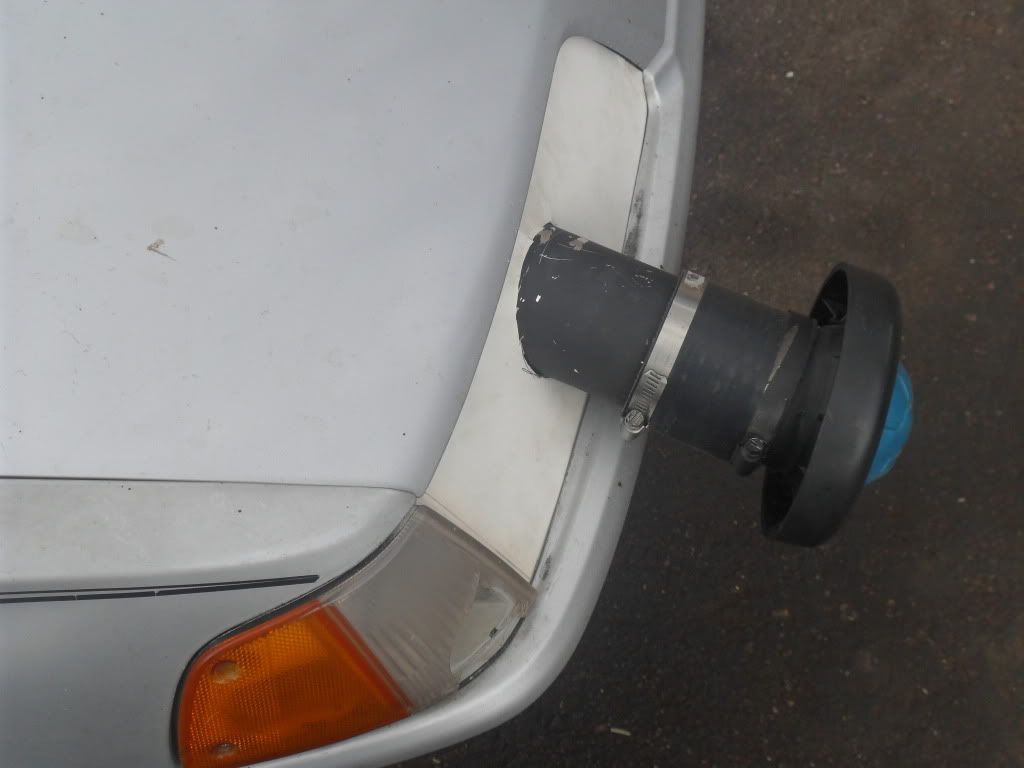
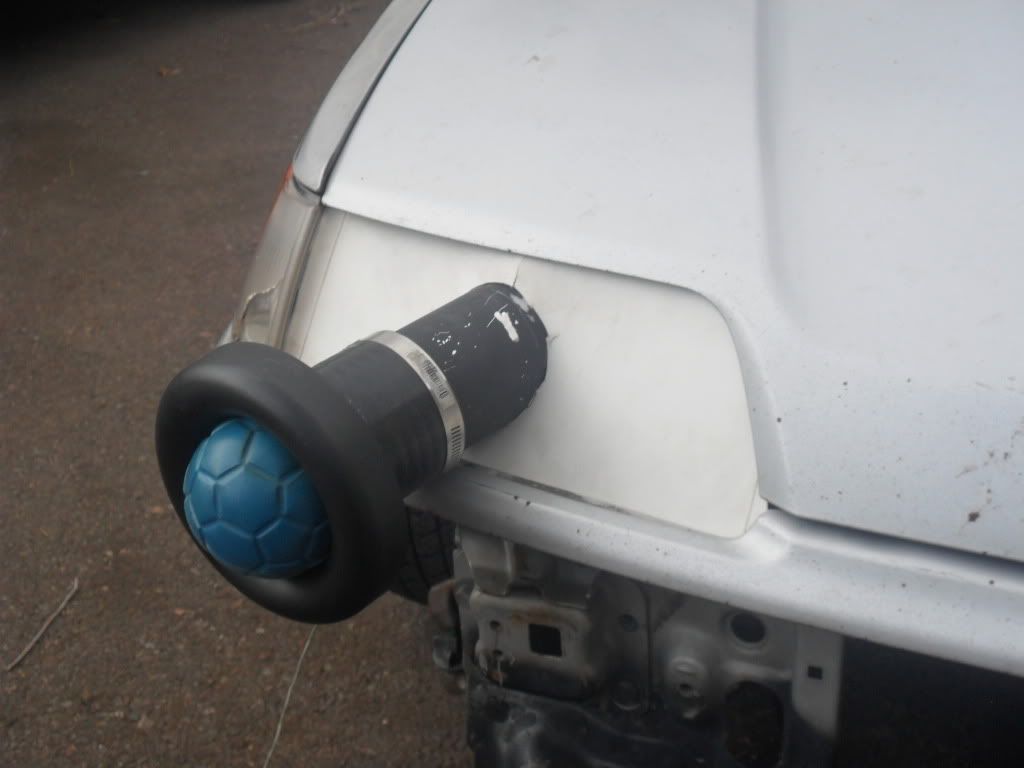
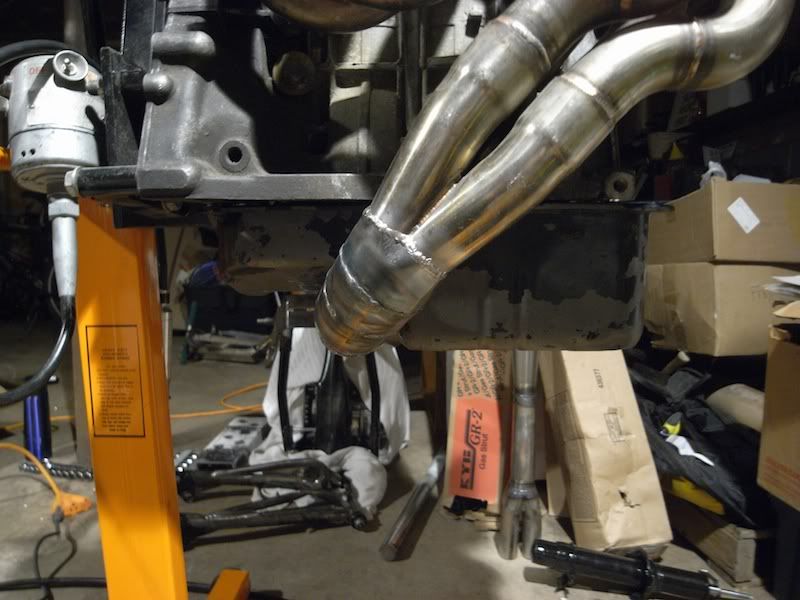
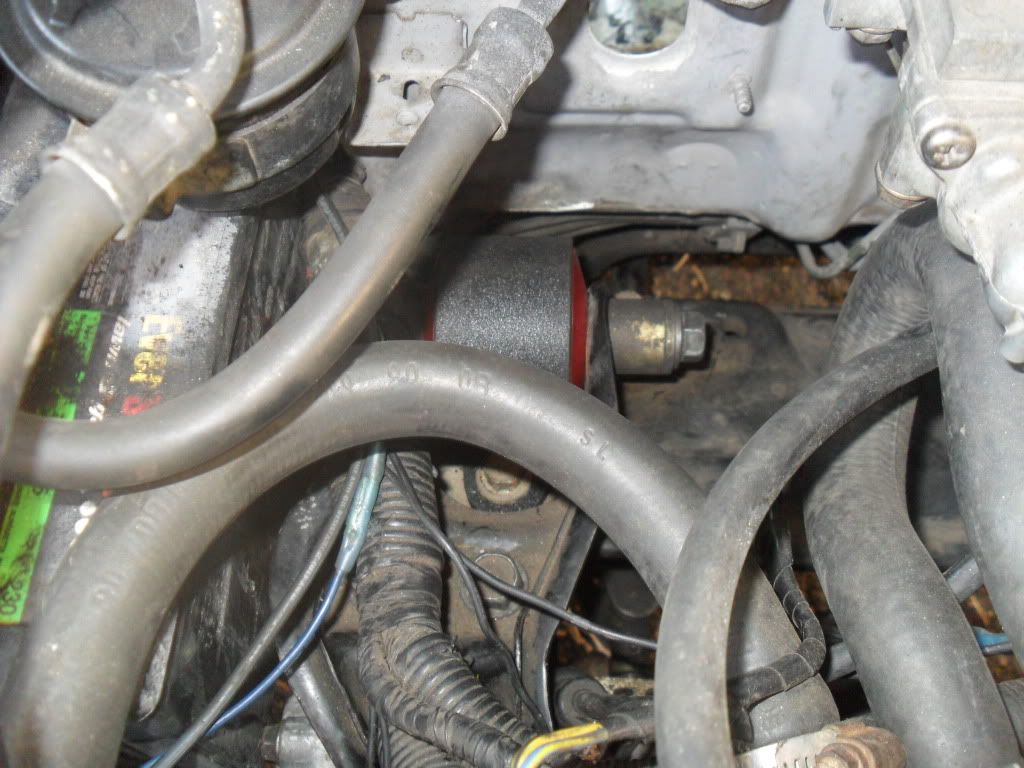
I ran into one slight issue that is being solved with the last tool I like to use, a hammer. The '88 chassis is a bit funky and the exhaust tunnel has an odd shape. Because of this, the reverse cone is pushing against the exhaust tunnel...
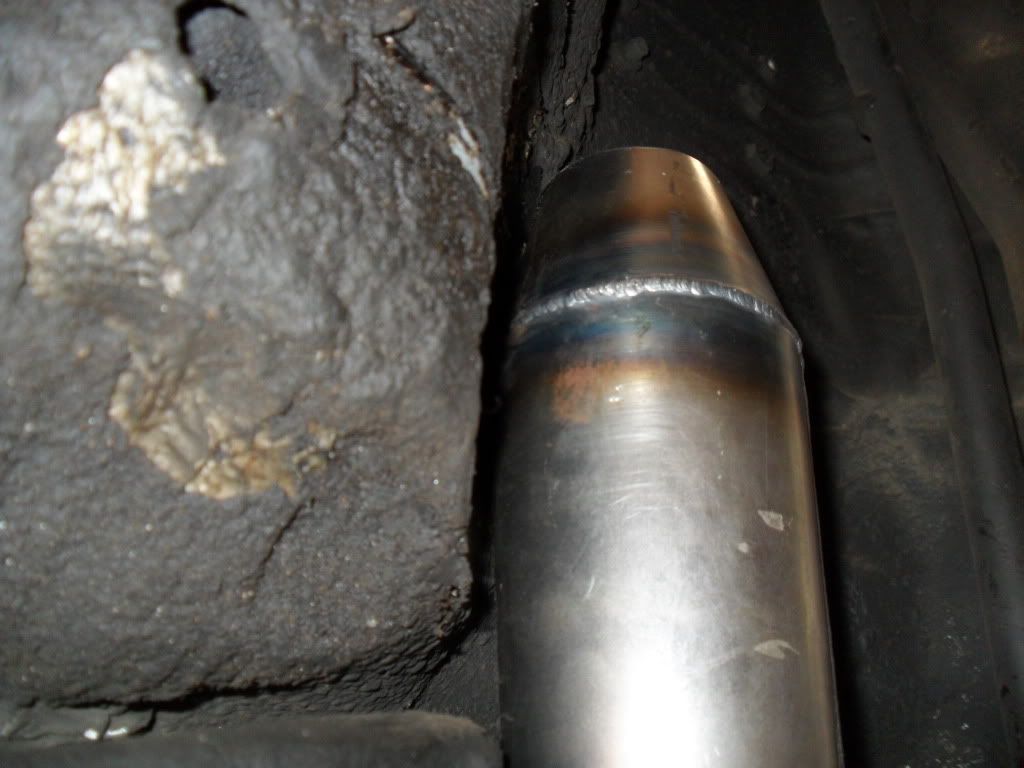
In this picture the header is loose and you can see where I need to widen the tunnel a little more...
More beating will commence tomorrow!
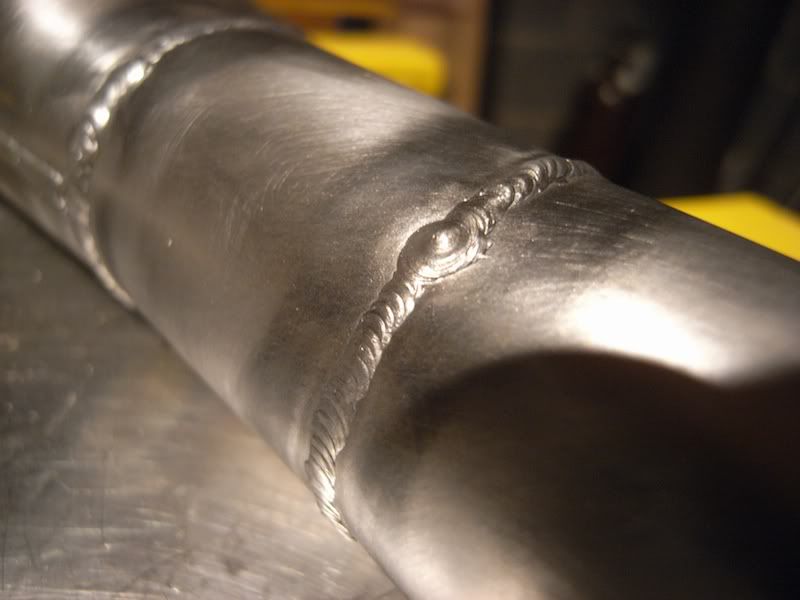
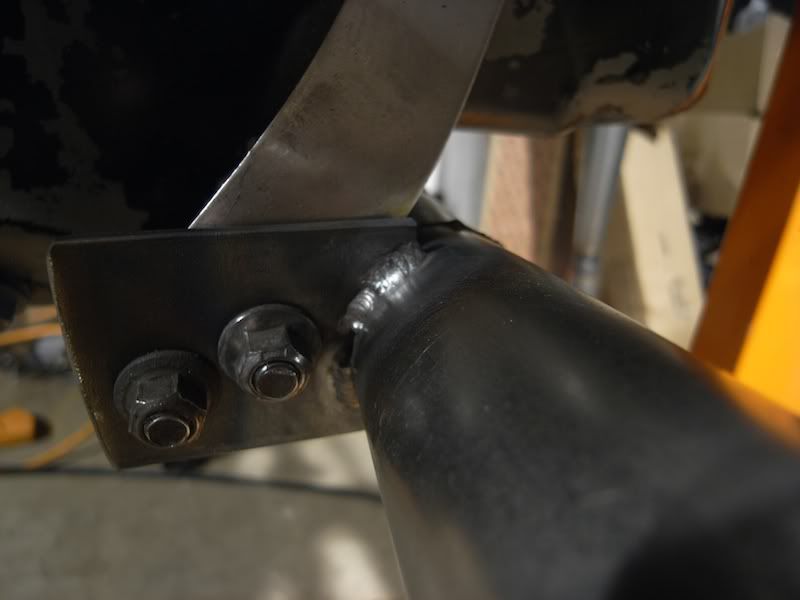
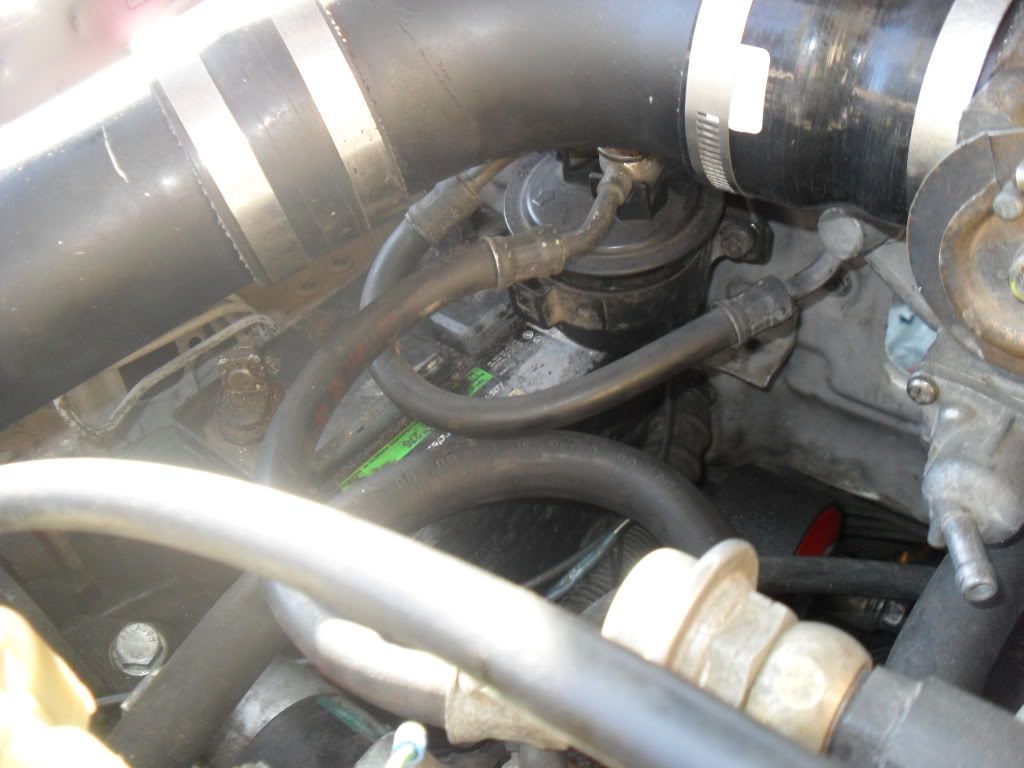
Overall I love this header! Beave's mods and welds look great. I could not be happier. The Bisi downpipe always made the header feel weak and I could visibly move the downpipe with the flange tight. With Matt's downpipe, there is no movement whatsoever. Now my header much more solid and I can use an oem back of the block exhaust hanger to brace it to the back of the block. I'M STOKED!!!
Tomorrow I will fire the engine up. I still need to install radiator brackets before I can start the engine but that won't take long. In the meantime, here are some pictures to enjoy...


I ran into one slight issue that is being solved with the last tool I like to use, a hammer. The '88 chassis is a bit funky and the exhaust tunnel has an odd shape. Because of this, the reverse cone is pushing against the exhaust tunnel...

In this picture the header is loose and you can see where I need to widen the tunnel a little more...

More beating will commence tomorrow!
Overall I love this header! Beave's mods and welds look great. I could not be happier. The Bisi downpipe always made the header feel weak and I could visibly move the downpipe with the flange tight. With Matt's downpipe, there is no movement whatsoever. Now my header much more solid and I can use an oem back of the block exhaust hanger to brace it to the back of the block. I'M STOKED!!!
Tomorrow I will fire the engine up. I still need to install radiator brackets before I can start the engine but that won't take long. In the meantime, here are some pictures to enjoy...


Sunday, March 18, 2012
Sunday Update
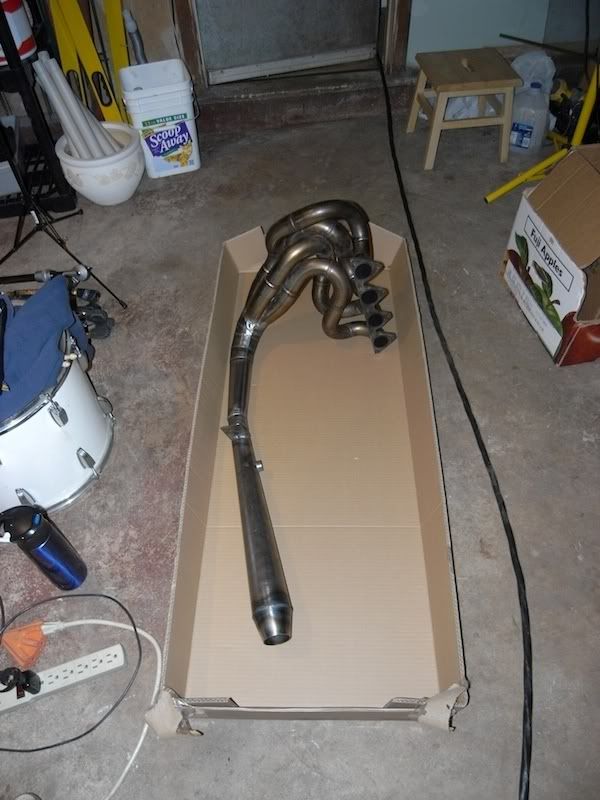
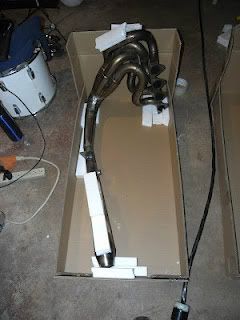
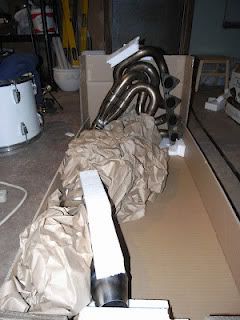
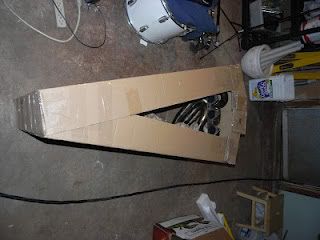
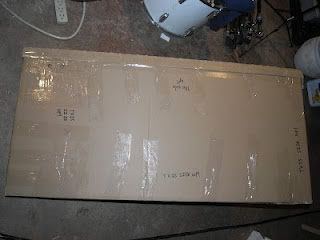
Beave sent me some pics of the header being boxed up. I had to share! You guys don't know how pumped up I am to see what Beave's mods to my Bisi will produce.
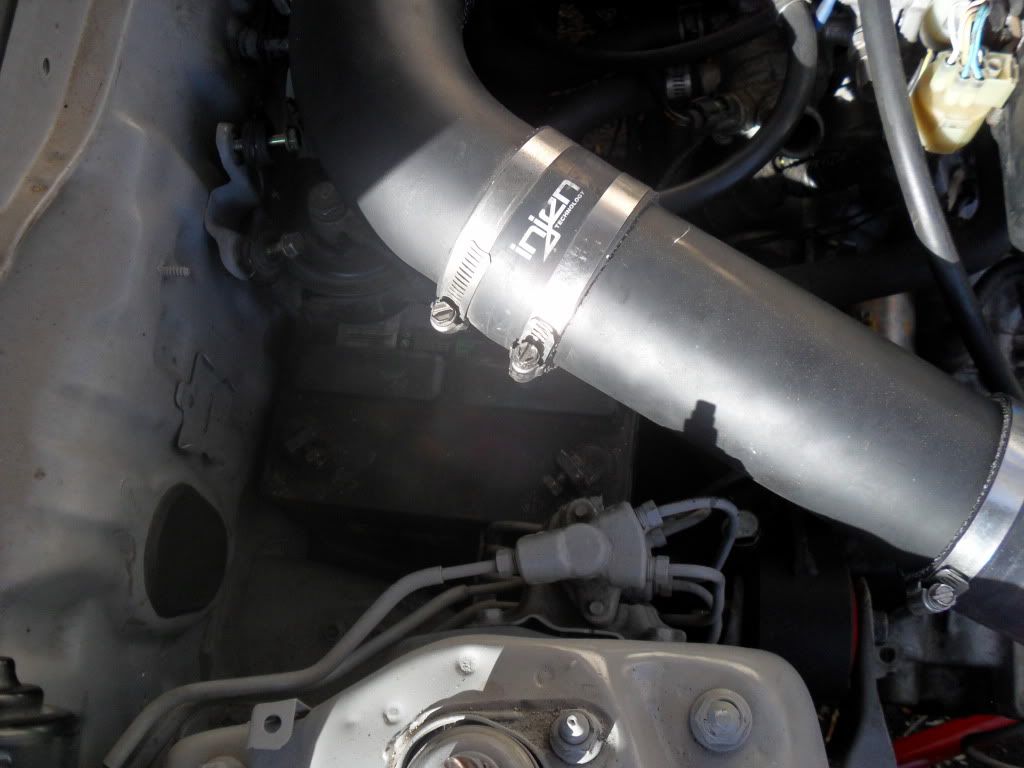
Today I worked on making a template for my sheet metal head light cover. I used some card board from an old crappy record and went to cutting....
I have the fitment pretty much where I want it with the template. Now I need to buy some thin sheet metal and cut it out. I plan on riveting the cover to the unibody and sealing it. The air intake is in sections and can easily be removed. Running a long tube air intake like this is something I have wanted to do for quite some time.


Today I worked on making a template for my sheet metal head light cover. I used some card board from an old crappy record and went to cutting....


I have the fitment pretty much where I want it with the template. Now I need to buy some thin sheet metal and cut it out. I plan on riveting the cover to the unibody and sealing it. The air intake is in sections and can easily be removed. Running a long tube air intake like this is something I have wanted to do for quite some time.
Saturday, March 17, 2012
Happy Happy Joy Joy!
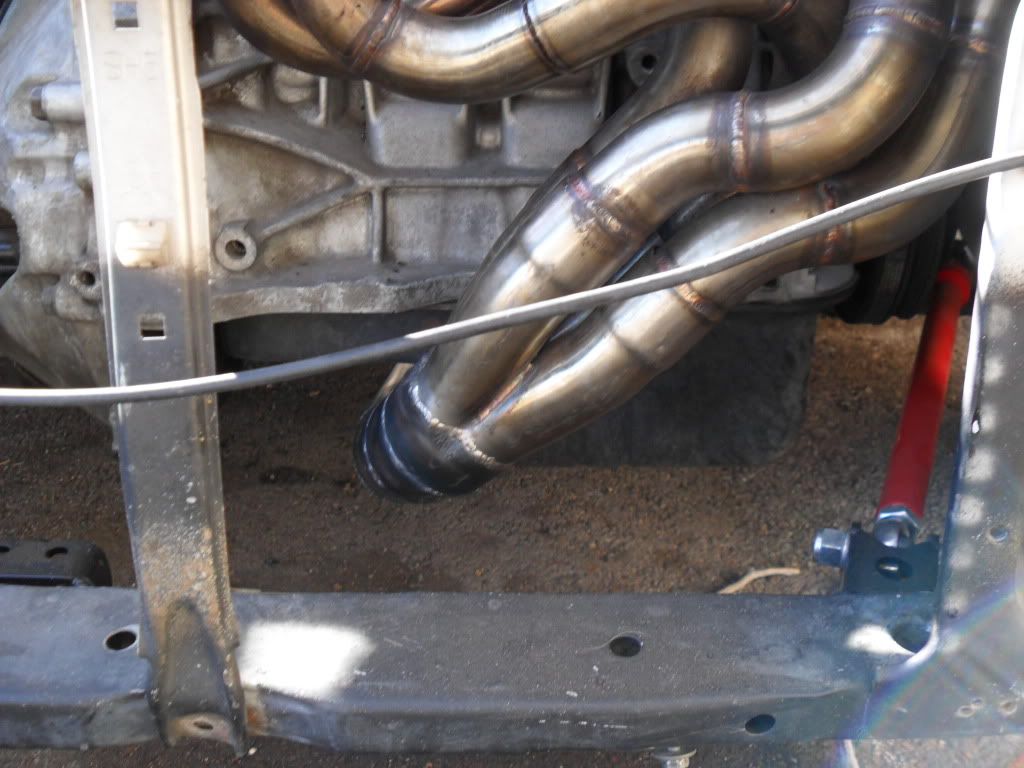
I'm sure some of you remember Ren and Stimpy, the raunchy cartoon from the 1990's. Like those two idiots, I dropped my jaw and pulled my teeth out in joy when I was sent these pictures today...
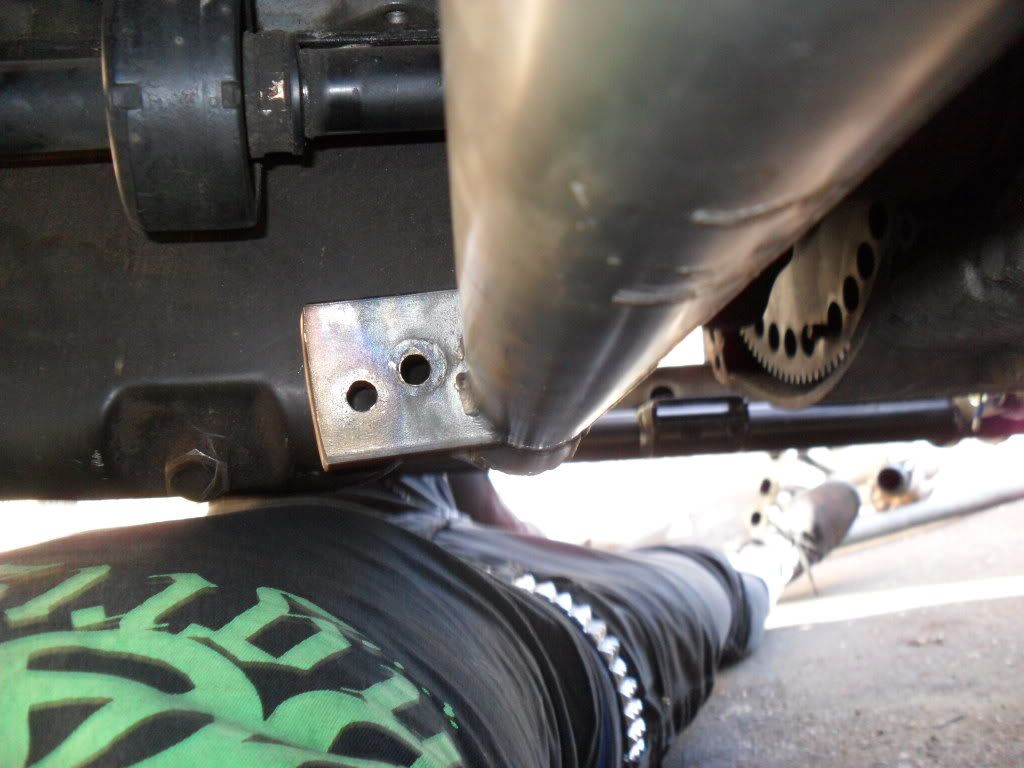
Oil pan clearance is optimum...

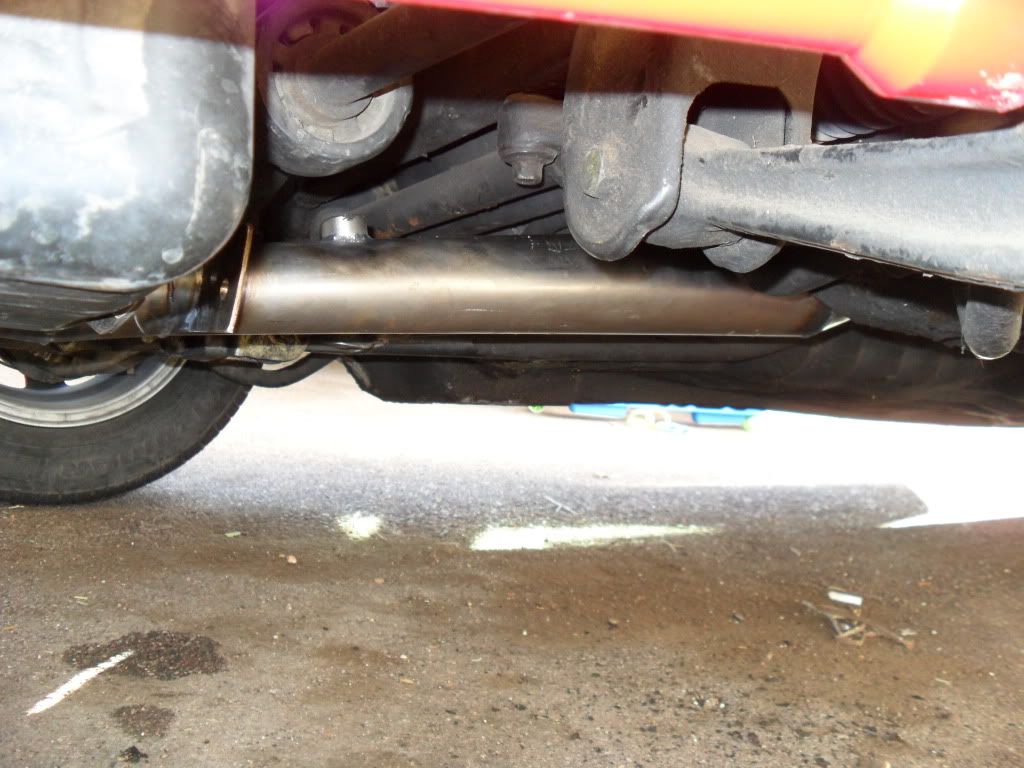
The picture below shows the old Bisimoto downpipe that the Beave replaced. It's a night and day difference in the ingenuity and detail Beave put into making this header better!
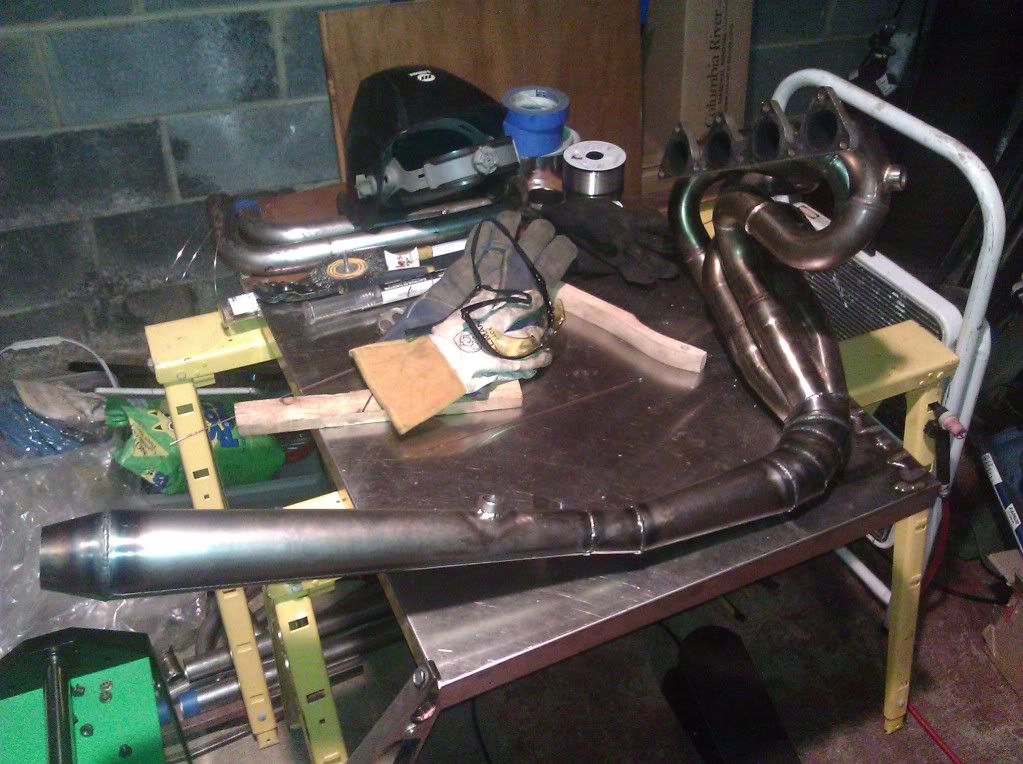
And the much needed rear header to block brace...
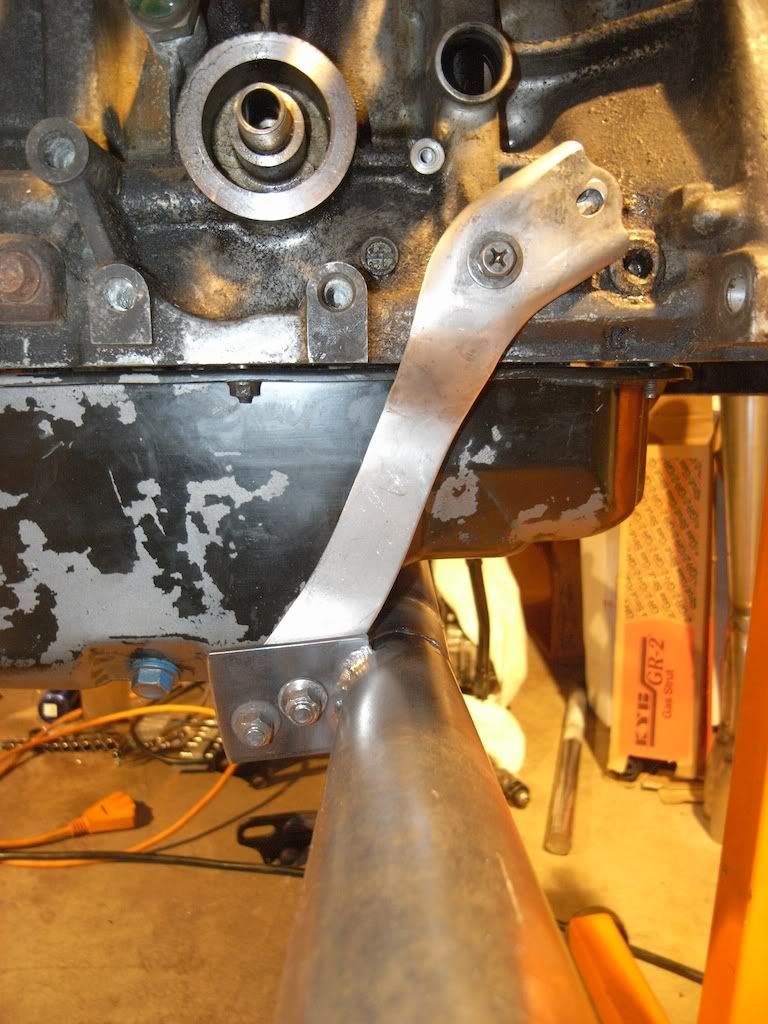
I could not be happier with how the Beave's modifications came out. As many have speculated, the choice a certain engineer made regarding downpipe diameter was a little much for a d16. Especially one that is only 1611cc.
The header should be in my hands next week and I will promptly install it. In the meantime I have done a bunch of work. Nothing work taking pictures of since most of us have already seen that type of thing. All of the sound deadening material has been removed in the cabin. All that remains are small amounts of glue and a thorough cleaning. I also installed the new Walbro 255 fuel pump. That install went very easy.
The to do list now:
-buy mineral spirits and wipe off glue in cabin
-gut hood
-fab radiator brackets
-install radiator
-purchase and install new slim fan mounting kit
-gut doors
-fab sheet metal headlight cover
-remove cracked windshield
-repair rust areas around the windshield
-install new windshield
Tomorrow looks to be a nice day and I should be able to get some sort of work done.
Thanks for reading!

Oil pan clearance is optimum...

The picture below shows the old Bisimoto downpipe that the Beave replaced. It's a night and day difference in the ingenuity and detail Beave put into making this header better!


And the much needed rear header to block brace...


I could not be happier with how the Beave's modifications came out. As many have speculated, the choice a certain engineer made regarding downpipe diameter was a little much for a d16. Especially one that is only 1611cc.
The header should be in my hands next week and I will promptly install it. In the meantime I have done a bunch of work. Nothing work taking pictures of since most of us have already seen that type of thing. All of the sound deadening material has been removed in the cabin. All that remains are small amounts of glue and a thorough cleaning. I also installed the new Walbro 255 fuel pump. That install went very easy.
The to do list now:
-buy mineral spirits and wipe off glue in cabin
-gut hood
-fab radiator brackets
-install radiator
-purchase and install new slim fan mounting kit
-gut doors
-fab sheet metal headlight cover
-remove cracked windshield
-repair rust areas around the windshield
-install new windshield
Tomorrow looks to be a nice day and I should be able to get some sort of work done.
Thanks for reading!
Monday, March 5, 2012
A Little Bit of Progress
I haven't been able to get much done work on my Civic lately. I've been taking on a lot of side jobs to make money for more go fast parts. I did install some parts last weekend and snapped some pics.
I installed my Innovative traction bar and Innovative 95a motor mounts:
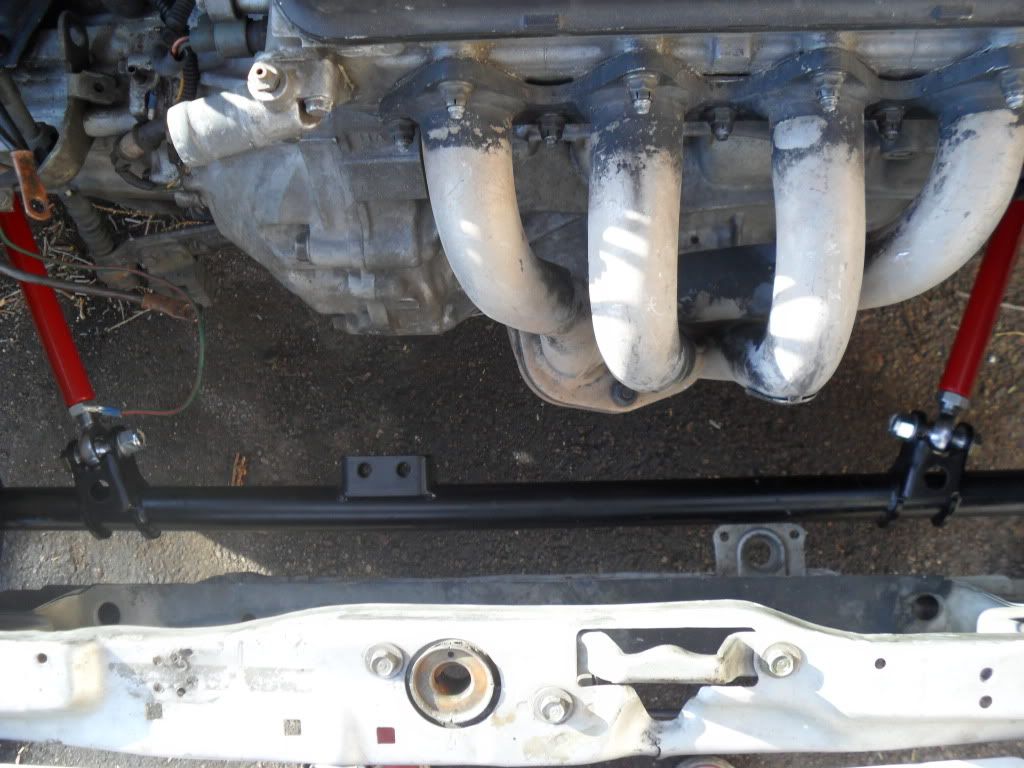
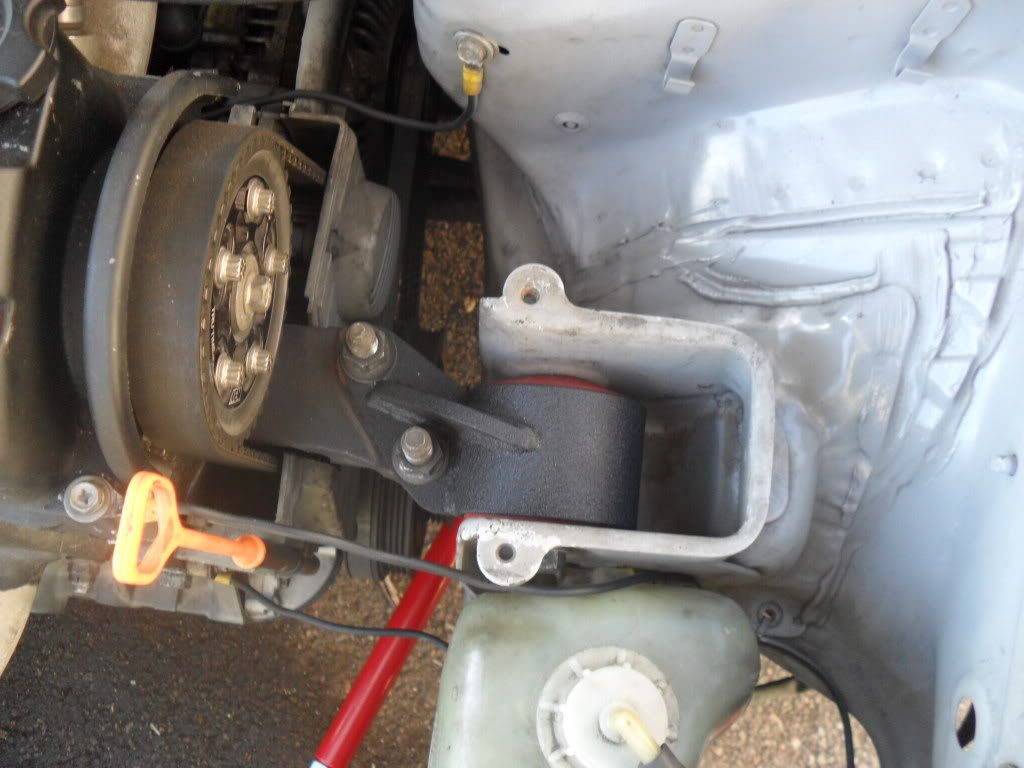
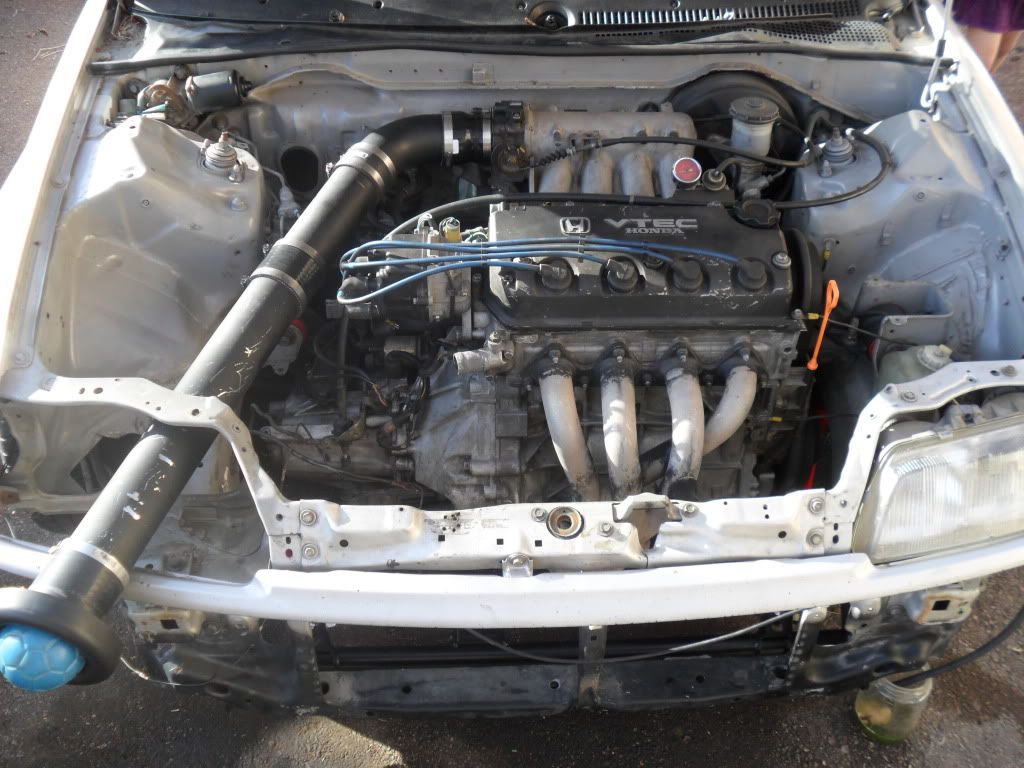
I'm thinking of mounting my battery on the top of the rear cross member. It fits snug and I should be able to add a brace to keep the battery still.
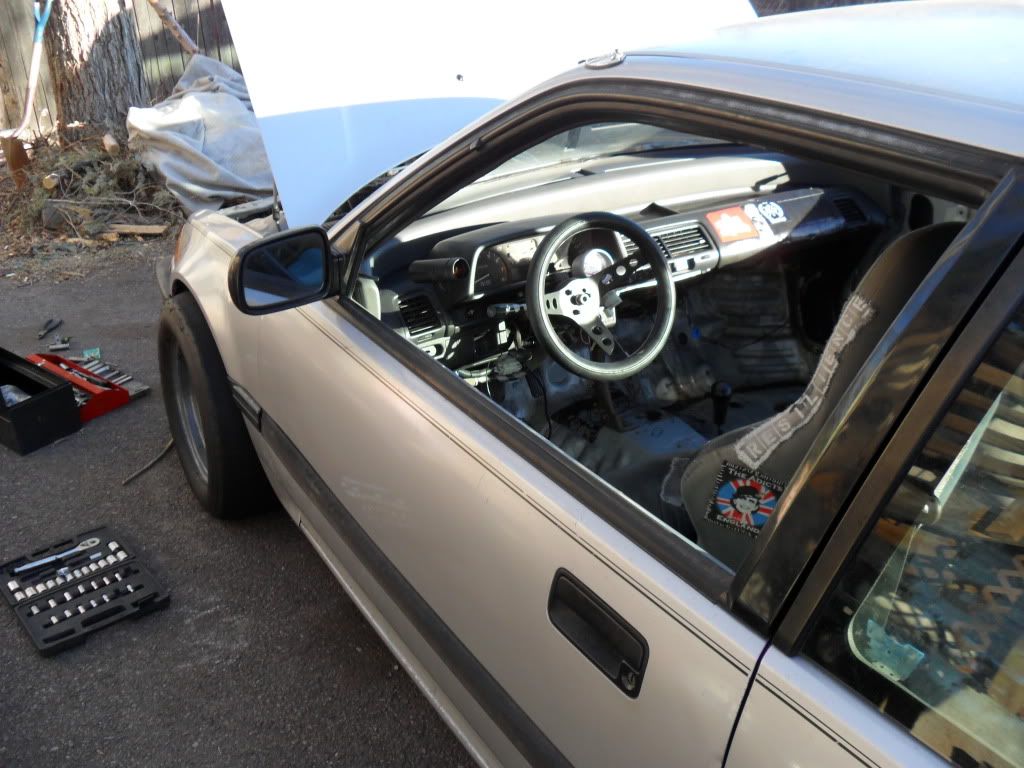
Please excuse the wiring mess, I still have a lot of cleaning up to do. I have a lot to do. Here's my list:
-install Walbro 255 fuel pump
-cut out the webbing inside the hood
-gut doors
-finish removing sound deadening material
-fab new radiator brackets
-fix rust
-install windshield
...and there is more that I can't think of right now. I need to get to work as the track opens in 30 days and I'm only half way finished to be ready to run.
I installed my Innovative traction bar and Innovative 95a motor mounts:


I'm thinking of mounting my battery on the top of the rear cross member. It fits snug and I should be able to add a brace to keep the battery still.


Please excuse the wiring mess, I still have a lot of cleaning up to do. I have a lot to do. Here's my list:
-install Walbro 255 fuel pump
-cut out the webbing inside the hood
-gut doors
-finish removing sound deadening material
-fab new radiator brackets
-fix rust
-install windshield
...and there is more that I can't think of right now. I need to get to work as the track opens in 30 days and I'm only half way finished to be ready to run.
Subscribe to:
Posts (Atom)