Monday, May 28, 2012
Memorial Day Fun
Today I decided that I needed to capture a decent video of my car running on the streets. My last few videos have been super shaky and criticized. I don't blame the critics, the videos aren't the best. I cannot afford a Go Pro or similar camera at the moment. I figured out that the next best thing would be a tripod mounted in the car to keep the camera still. My Dad had a tripod my sister was tossing out. I acquired the tripod and duct taped it to the floor of my chassis. I took my '88 for a spin and here is the result. I hope you all enjoy! I sure did!
Friday, May 25, 2012
Progress!
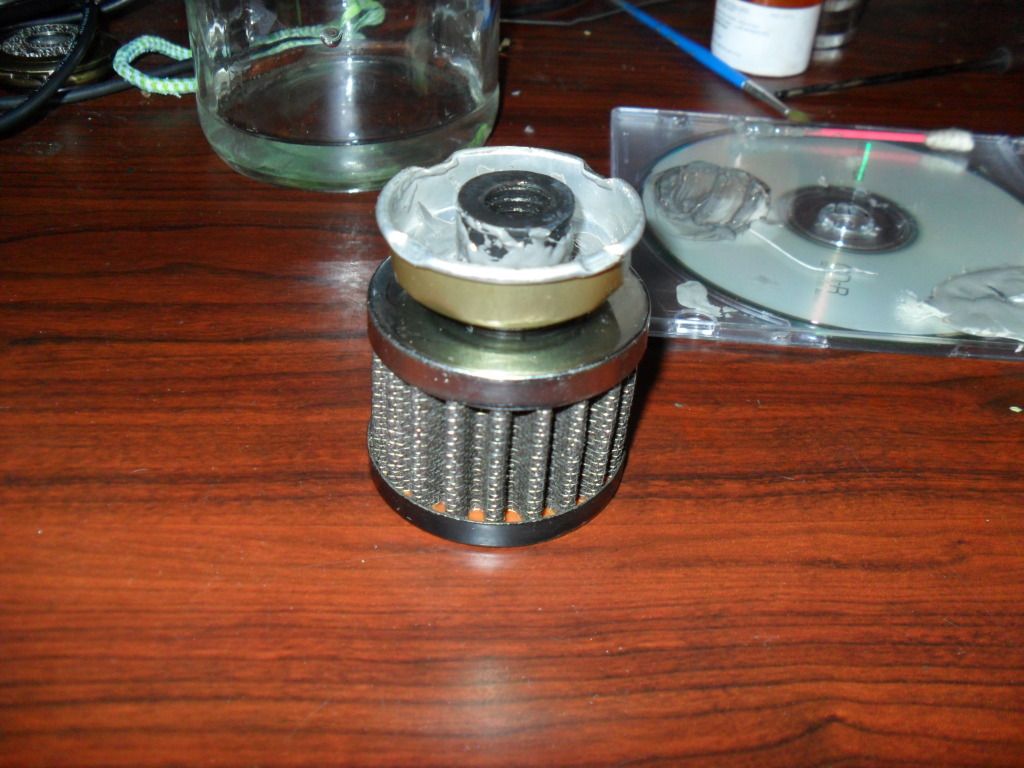
I made some progress today. I acquired a breather filter and JB Welded it to the catch can cap...
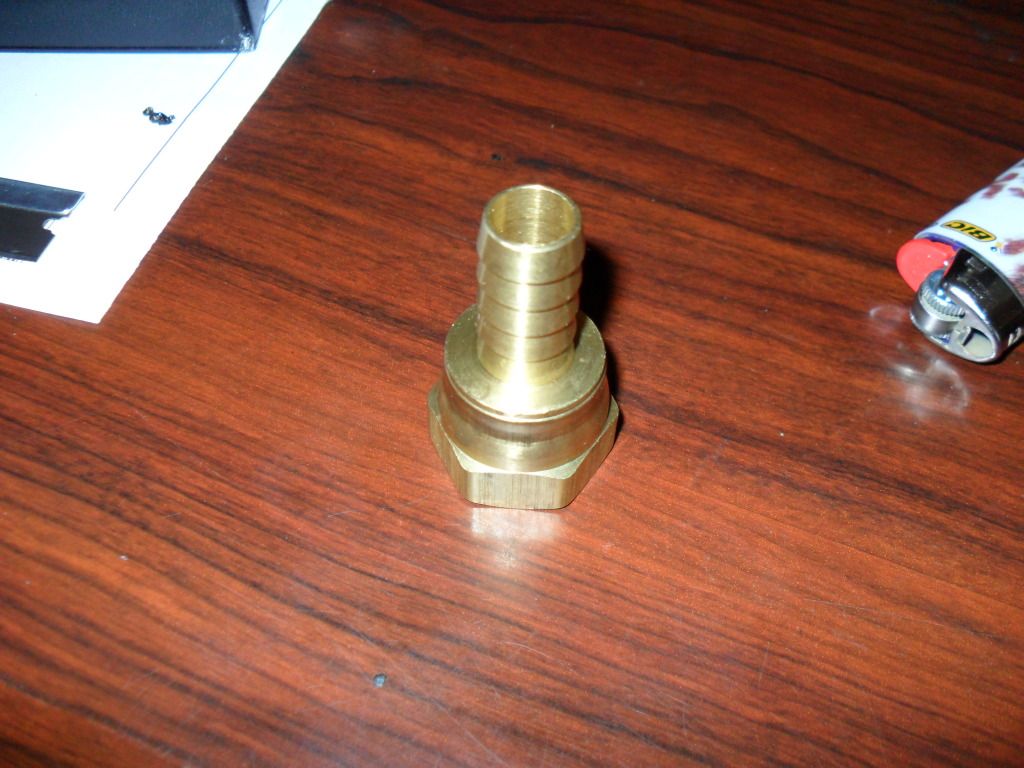
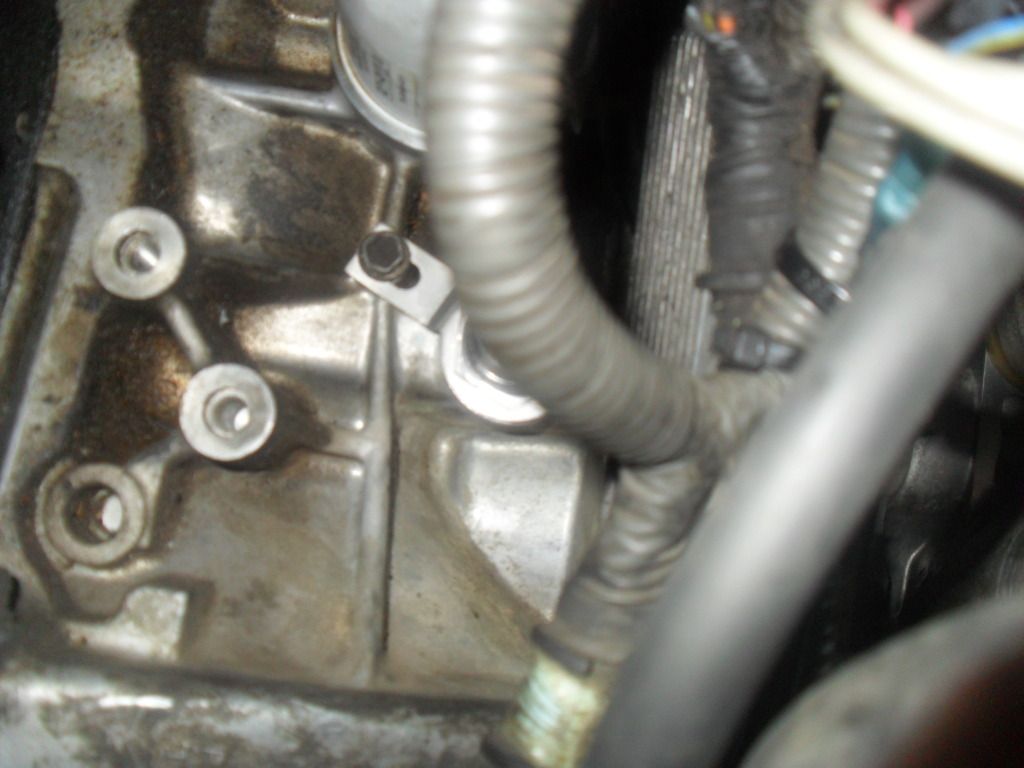
After three weeks of waiting, my last fitting from Jeg's showed up. This one little guy took that long to get to me.
Now that the fitting is in my possession, I finally had a chance to install my catch can.
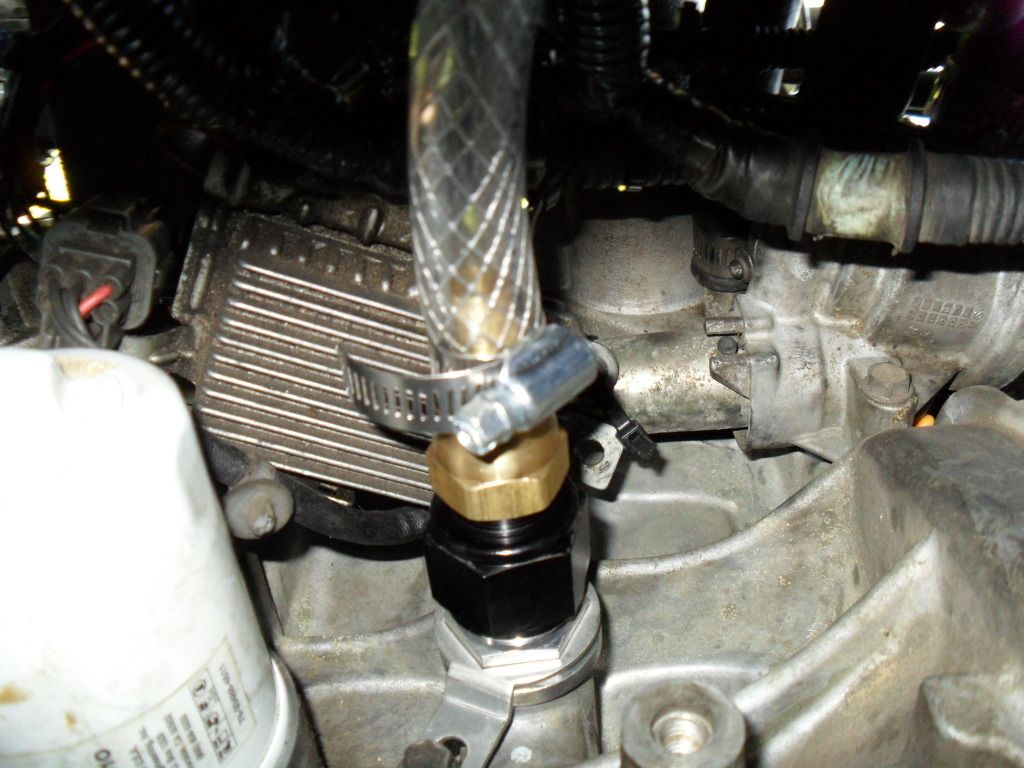

I realize that it sits a bit crooked. I don't mind it sitting like that. I will find out if that track will care for some reason just to make sure it'll pass tech.
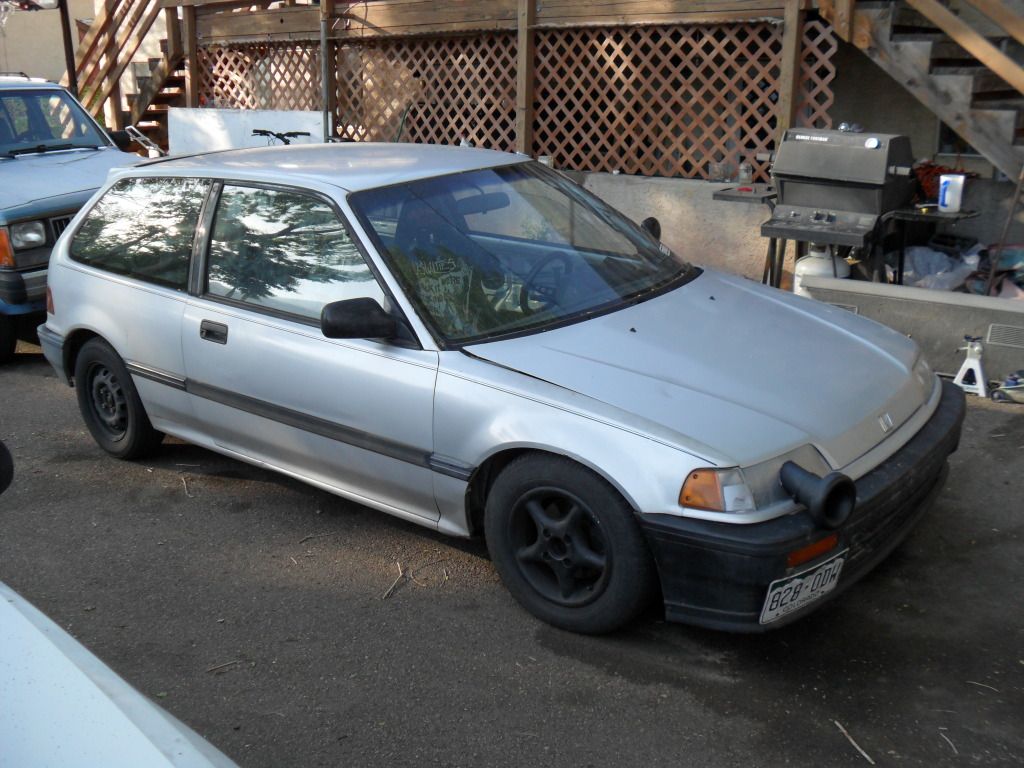
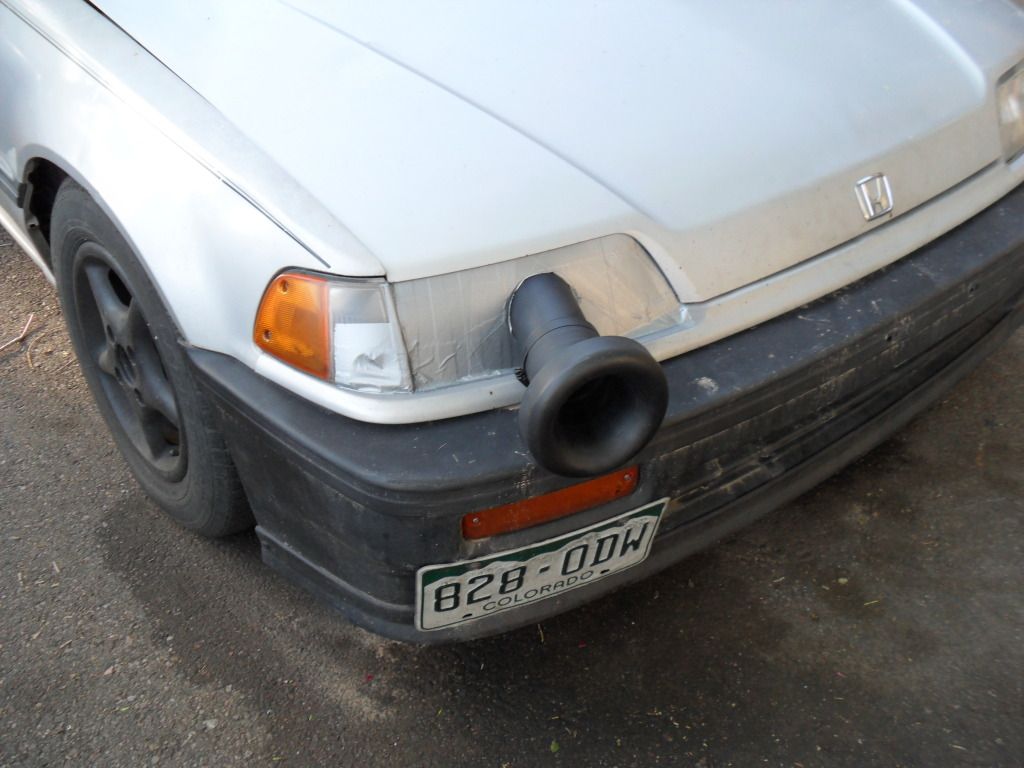
I also made up a new headlight cover to go behind the velocity stack. This time I fashioned it out of plastic. It came out nice covered in duct tape.

After three weeks of waiting, my last fitting from Jeg's showed up. This one little guy took that long to get to me.

Now that the fitting is in my possession, I finally had a chance to install my catch can.


I realize that it sits a bit crooked. I don't mind it sitting like that. I will find out if that track will care for some reason just to make sure it'll pass tech.
I also made up a new headlight cover to go behind the velocity stack. This time I fashioned it out of plastic. It came out nice covered in duct tape.


Friday, May 18, 2012
Behind....Again
As you all have noticed there has been a lack of updates within my blog here. I missed my goal (again) of hitting the track on May 11 and for hitting the track this evening. Life is "challenging" at the moment. That doesn't mean I haven't been putting work in!
When I did the pull in the video, my engine puked out a little oil. Oil came out of the top hole within that black breather box on the back of my block. That hasn't happened before. I decided that I need to get serious with my crankcase evac and made a catch can.
I kept my catch can simple. The valve cover port goes to the side of the catch can and the block port goes to the bottom of the catch can. That way if my motor pushes oil out of the back of the block again it will go up the long line and into the catch can.
I don't want to be responsible for a mess at the track plus I want to monitor how much oil get pushed out per run down the quarter mile.
The first thing I did was purchase a 12 AN bock fitting from B&R Fittings. I have to give it up to these guys! My order was here in 3 days and the email communication was phenomenal. I also bought an 12 AN to 10 AN adapter from B&R. Here it is hiding out...
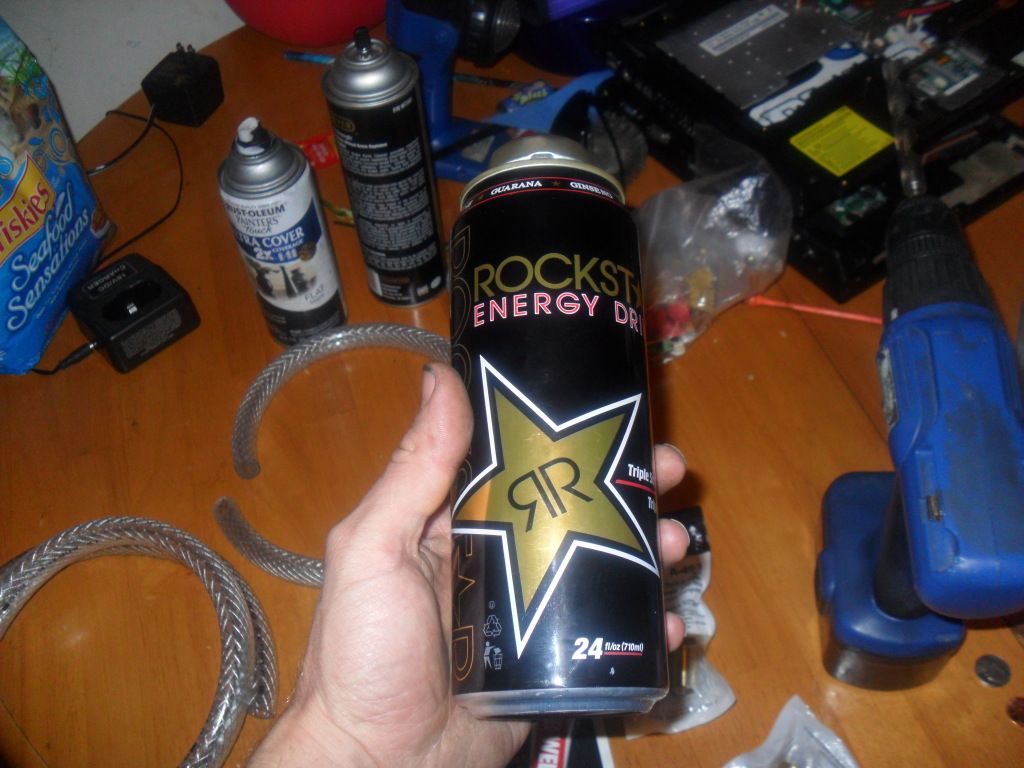
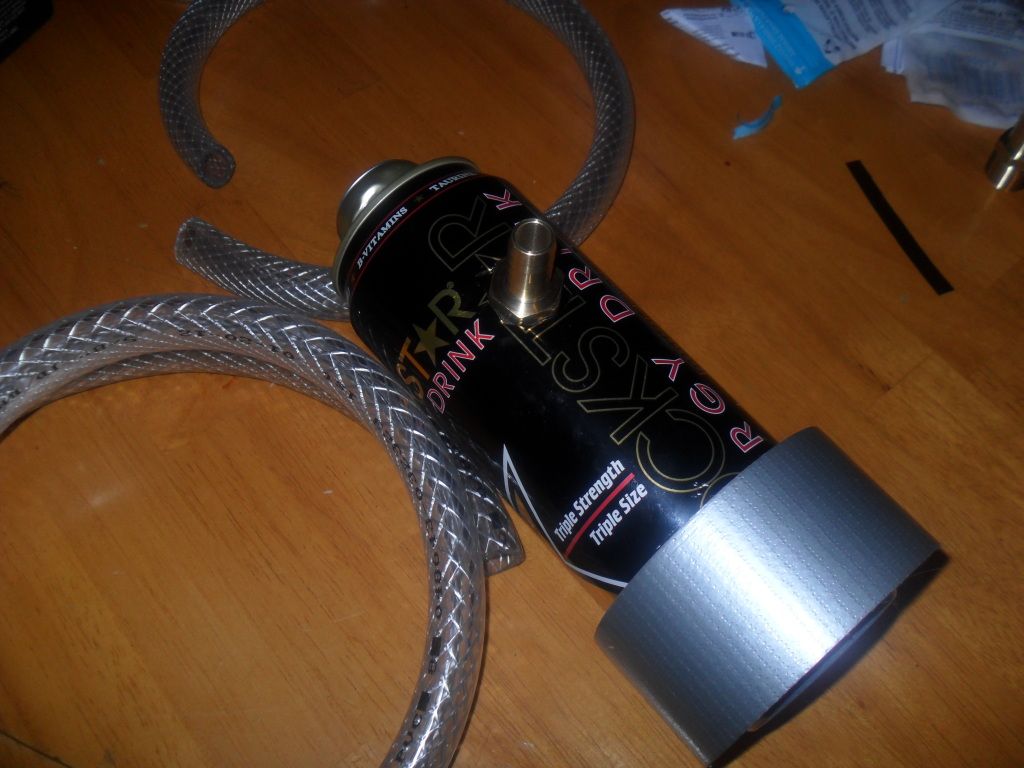
My catch can is a little different than most. I didn't want to spend $100 on a aluminum catch can. So I made my own out of this...
Here are my supplies....
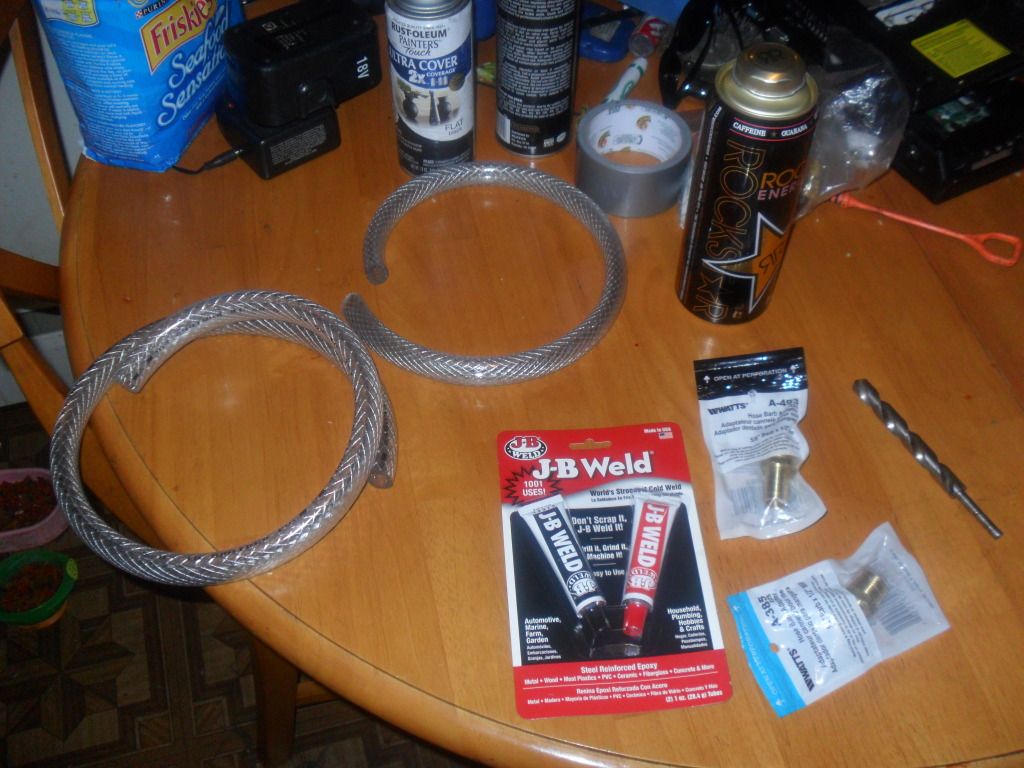
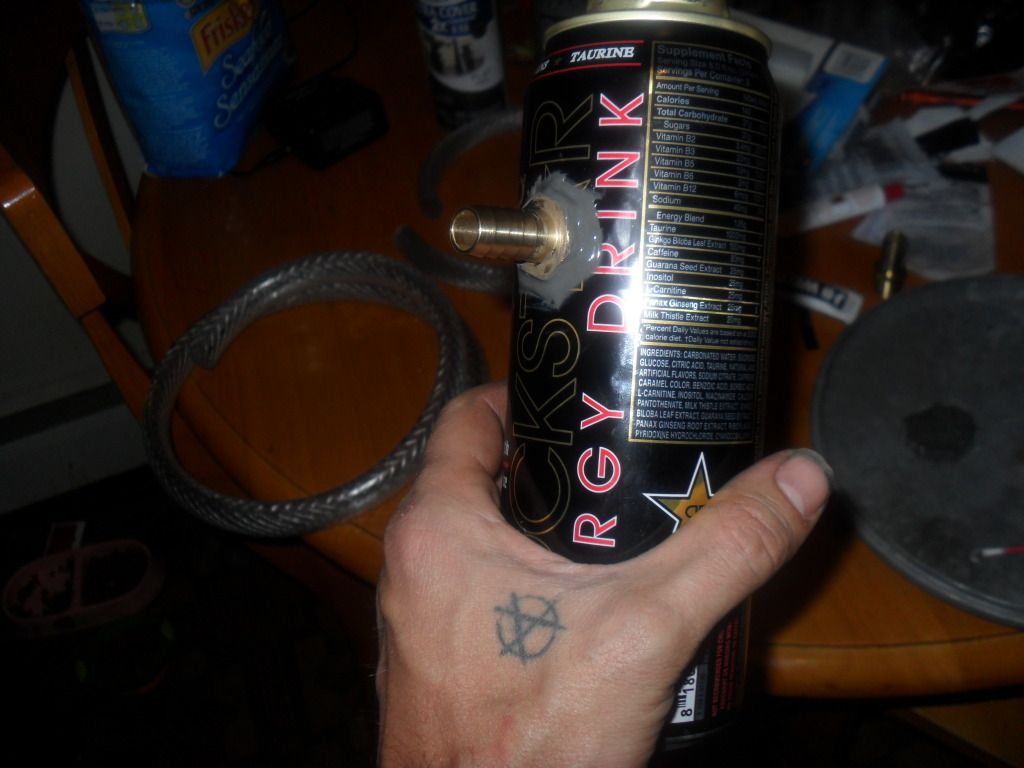
I drilled a hole in the side of the Rockstar can for the block port fitting. I found the barb fitting at Lowe's.
Here's the side fitting JB Welded in...
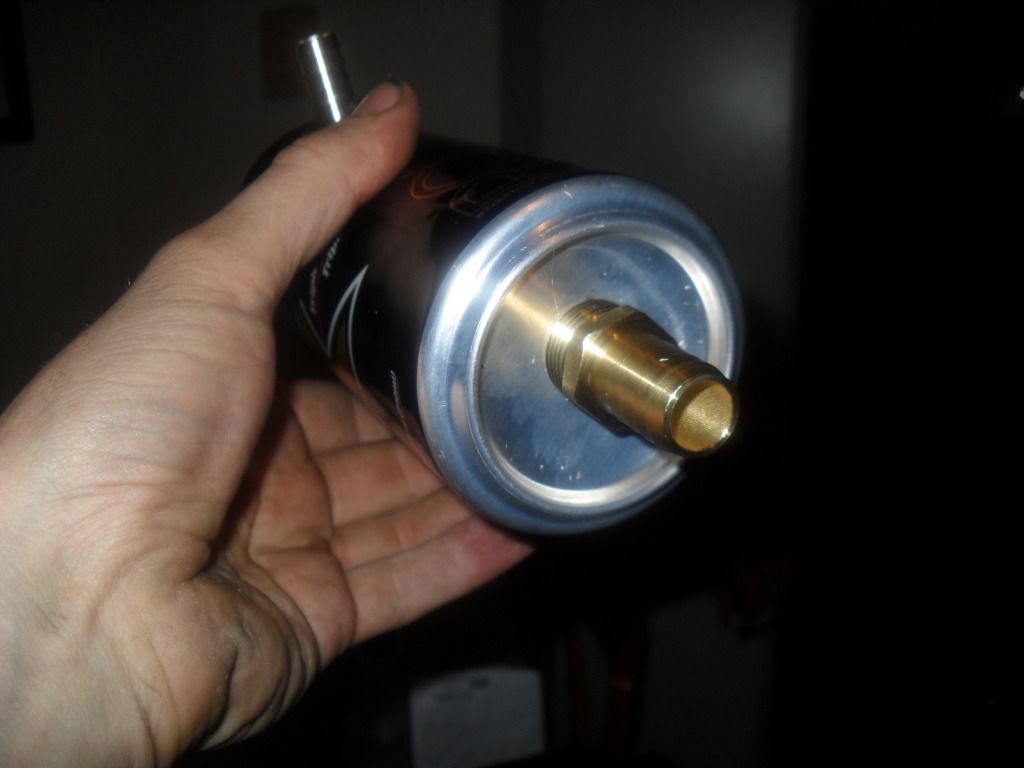
I drilled a hole in the bottom of the can...
Here's an inside view...
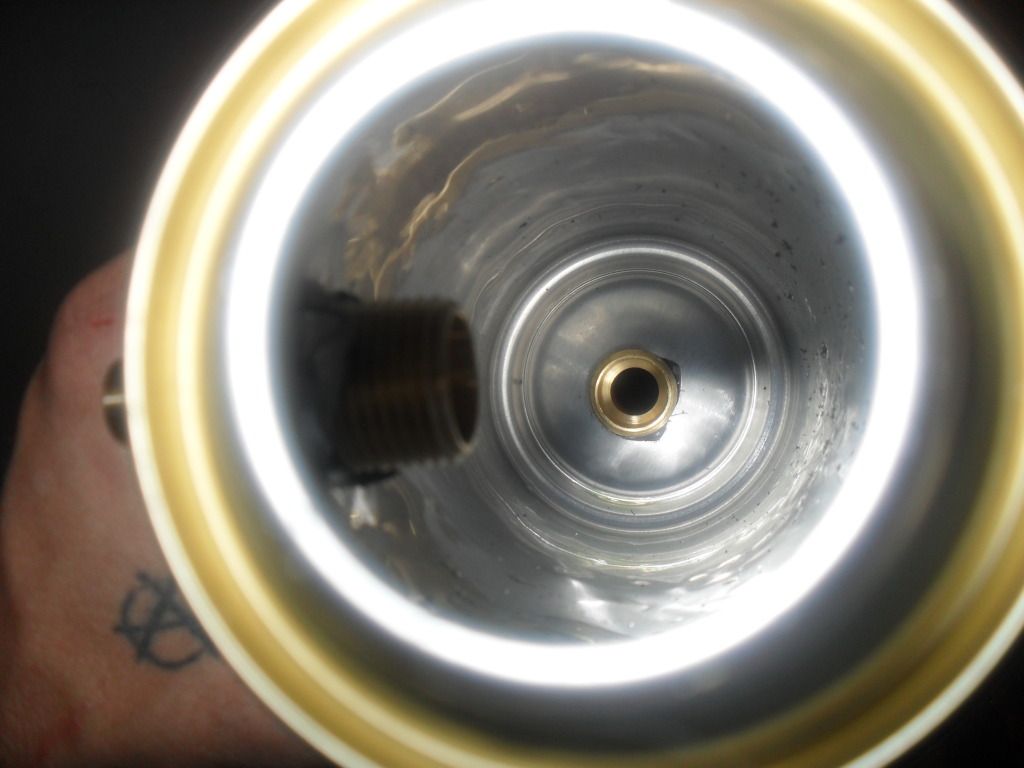
And it JB Welded in...
Here's the end result with the fittings and JB Weld painted...
I'm waiting on one more fitting to shop from Jeg's. I also need to get an air filter for the lid.
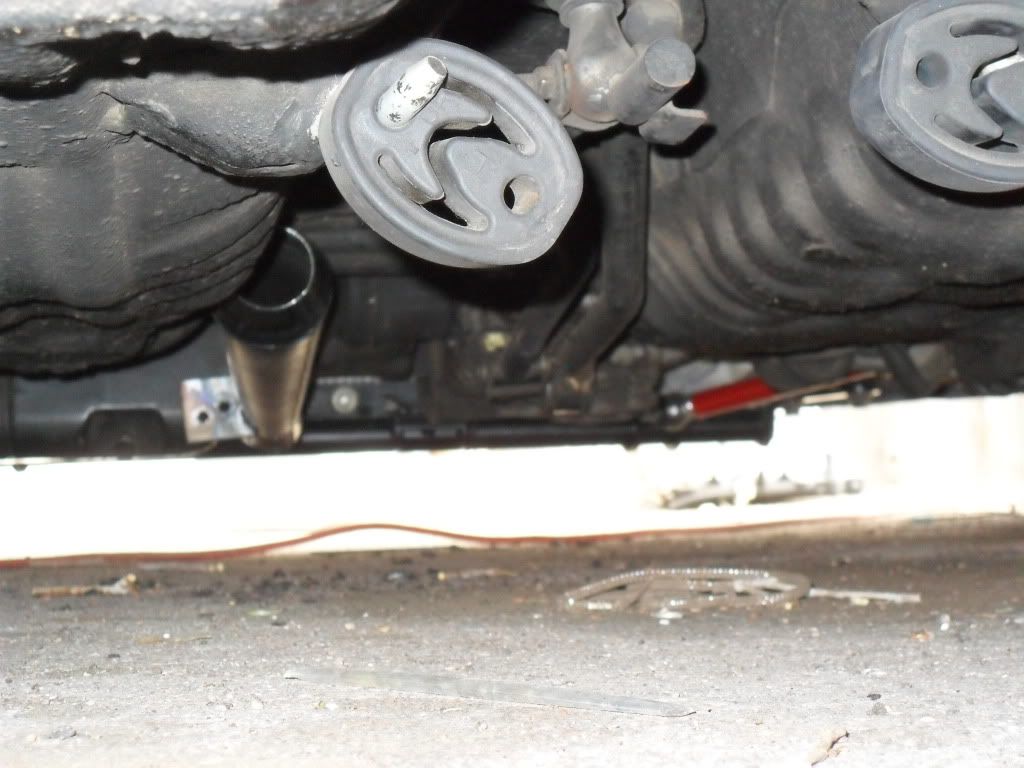
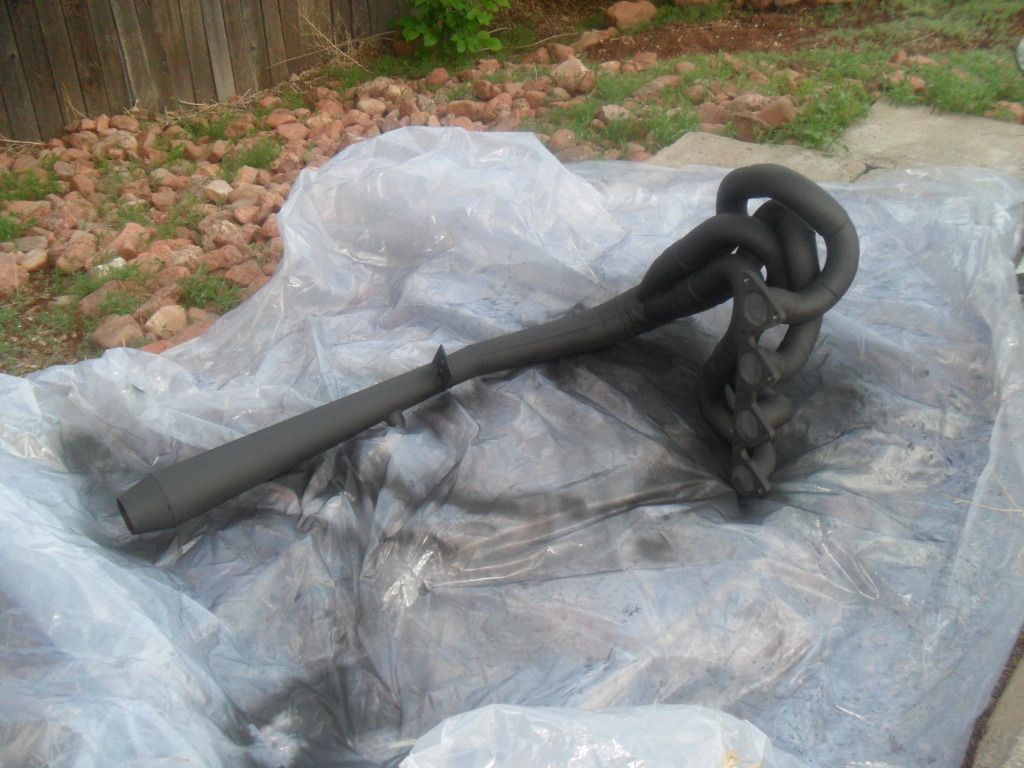
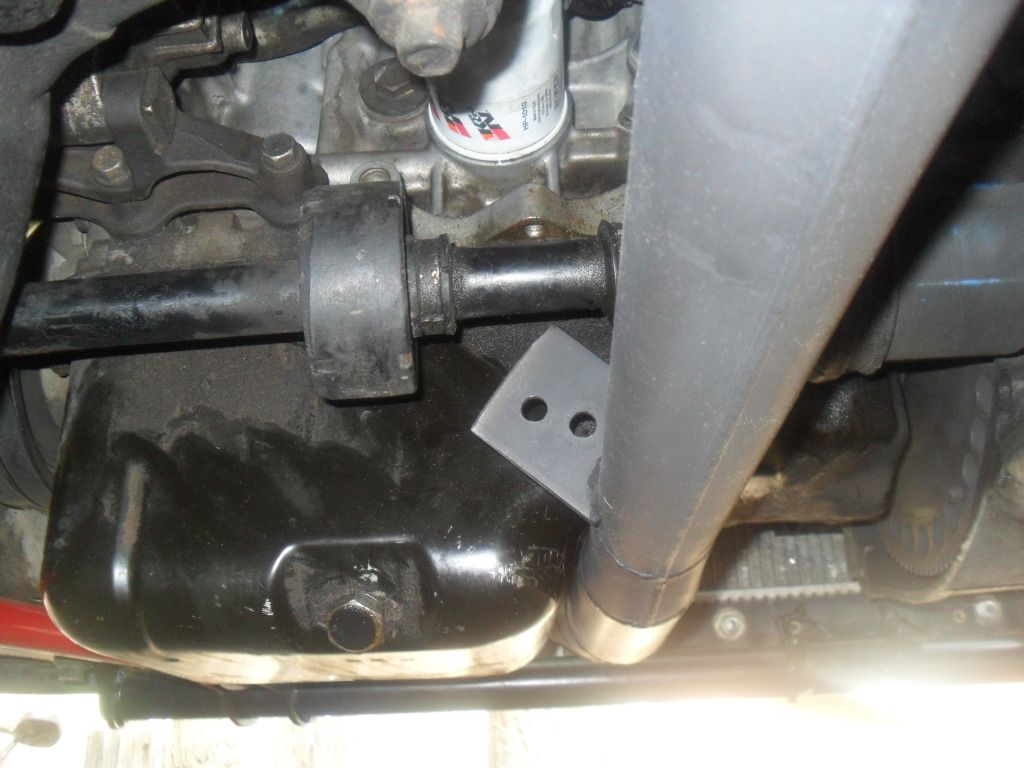
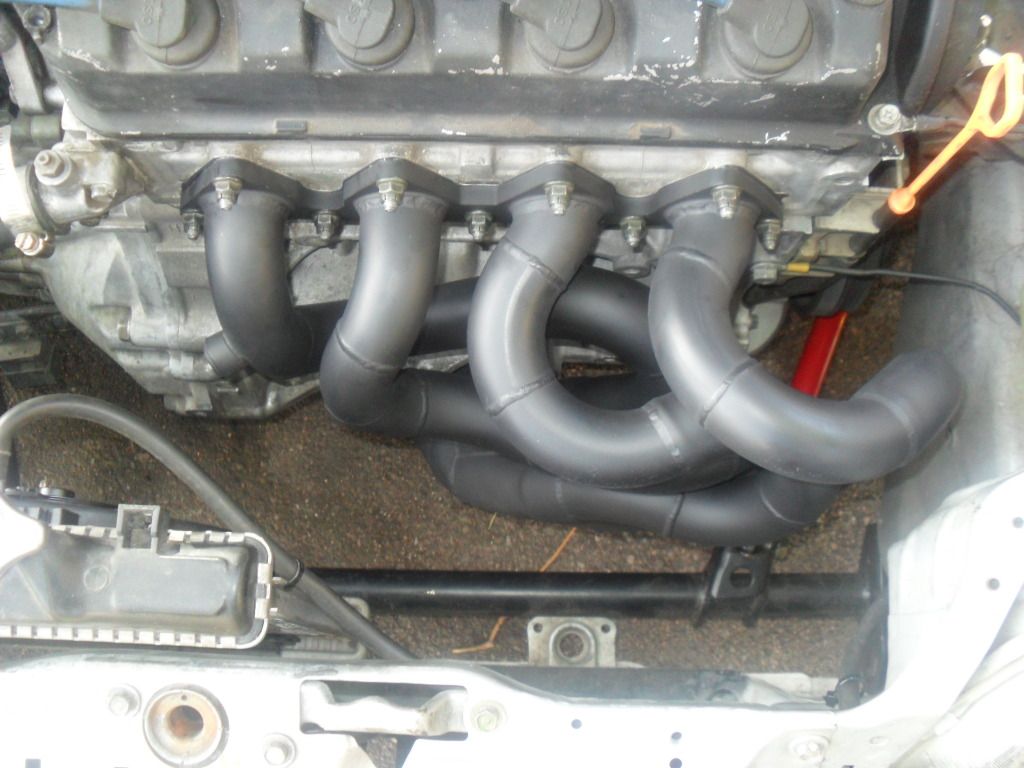
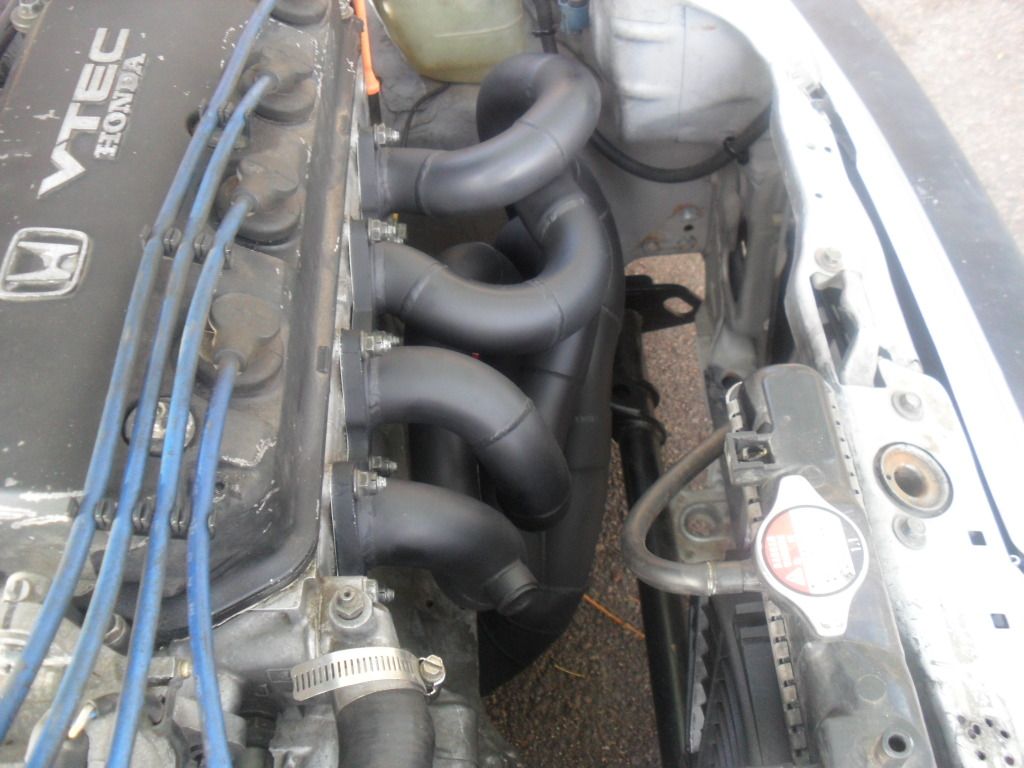
That wasn't the only work I did. I told myself I would put any more work and money into MY custom header. Three people have worked on this header, Bisi, Matt and a local tig welding veteran Al. The header was perfect in every way except one- it was a little off on it's angle through the exhaust tunnel. Here's a pic of how it looked...
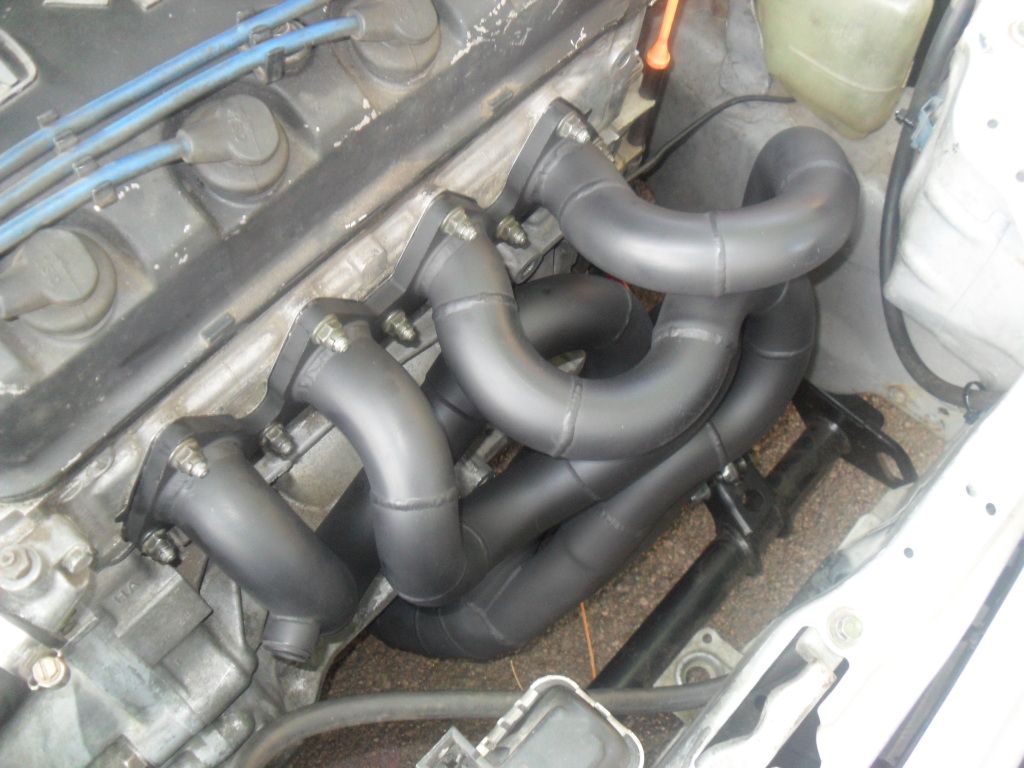
Matt instructed me where to cut it. I did so and marked the pipe where it would clear the exhaust tunnel. I took the header back to my friend, Al at Front Range Precision welding. This guy has been professionally tig welding for 35 years. Not only did he weld the header back together, he also found another damn crack on it. Thankfully he filled it in for me.
Since the megaphone is mild steel it began to rust quickly even though there isn't an ocean around for thousands of miles. I picked up a can of BBQ grill paint to coat the header. It's good up to 1200* degrees and only cost $5 at Ace Hardware.
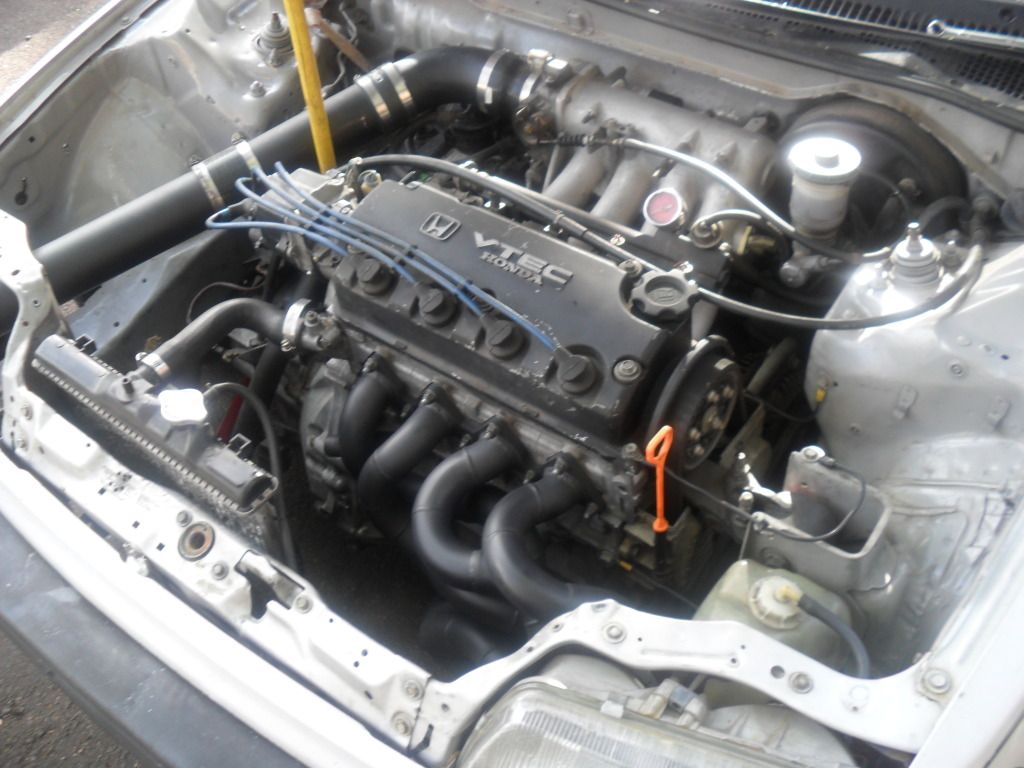
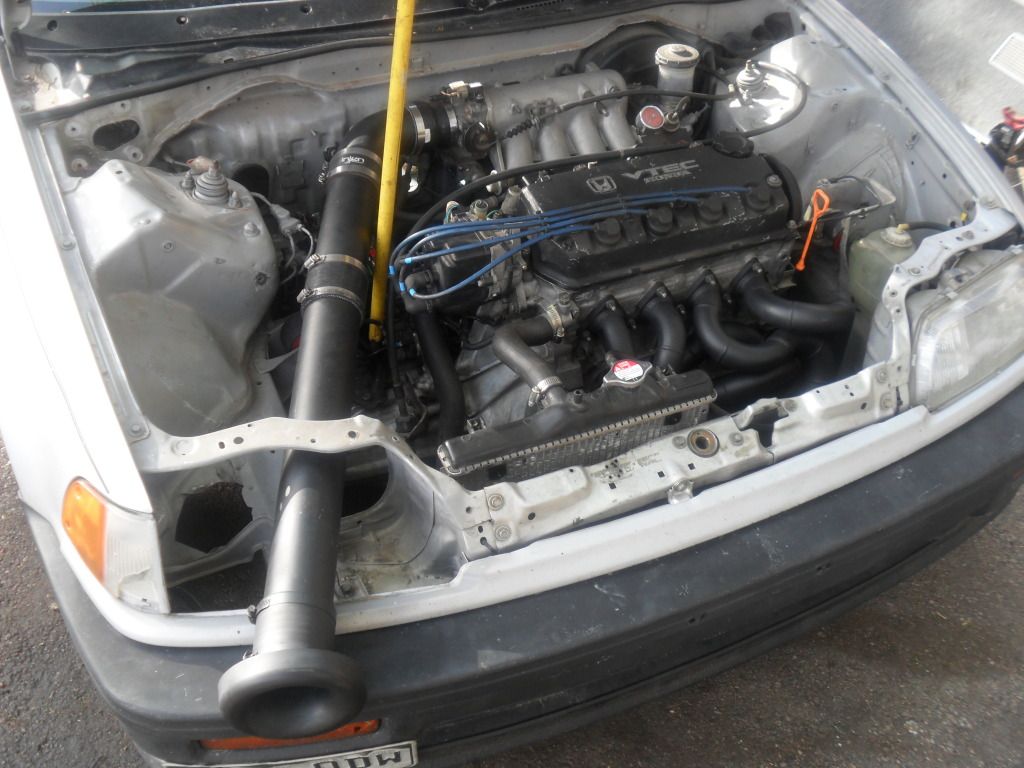
Anyway, time for pictures!
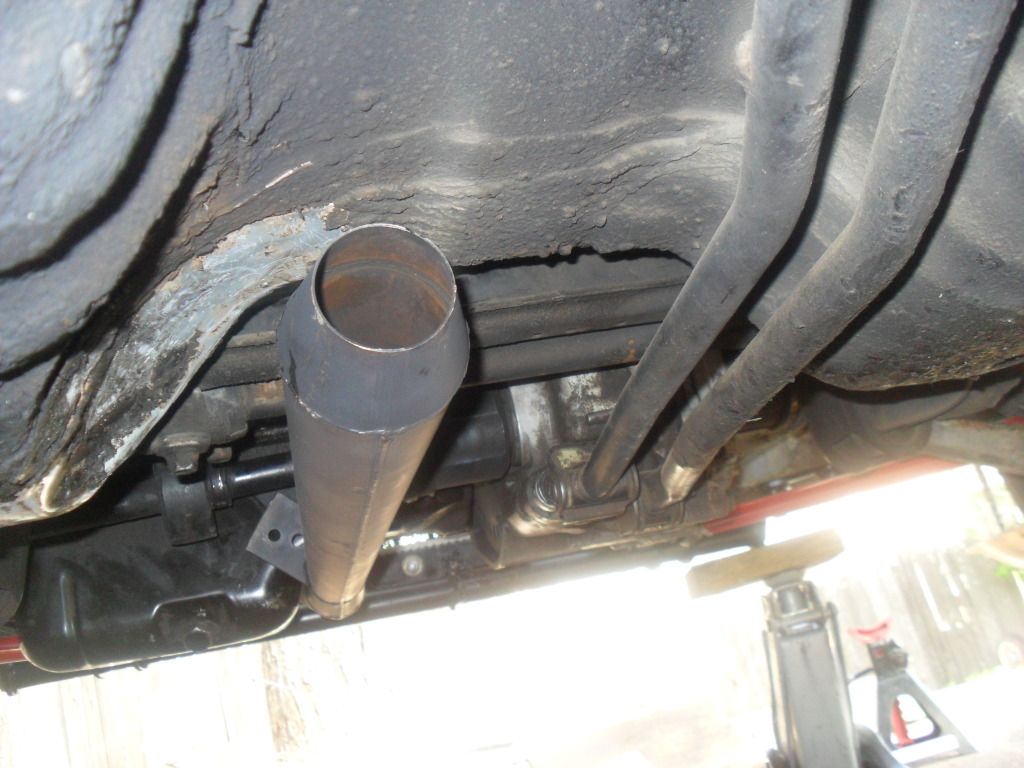
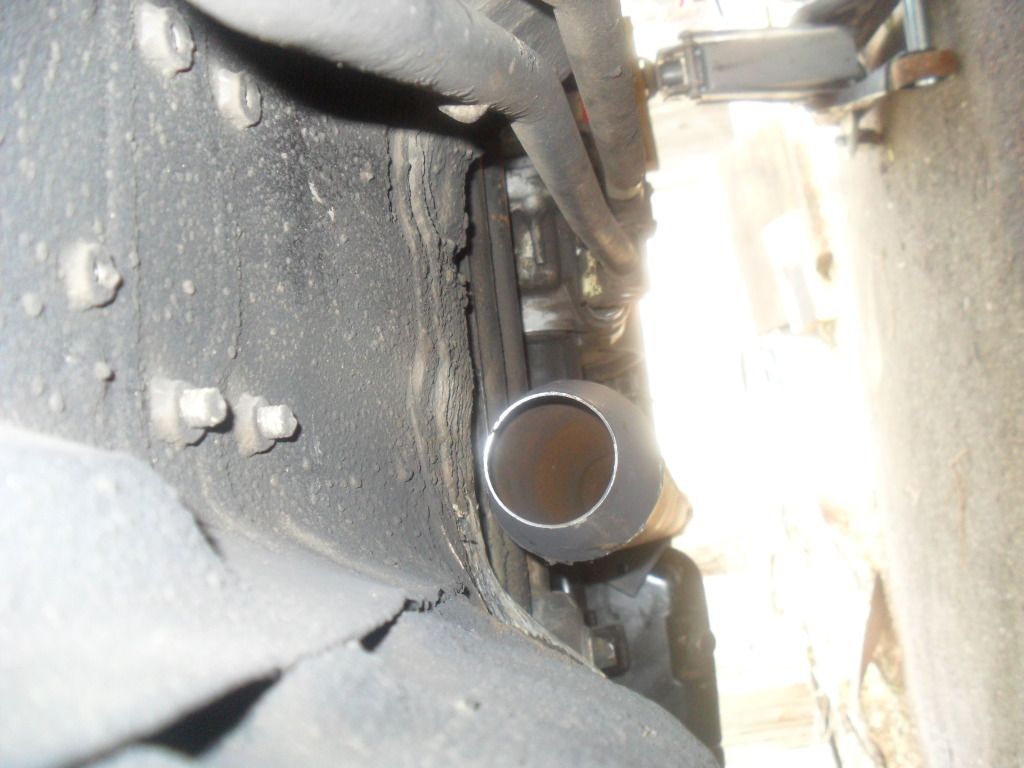
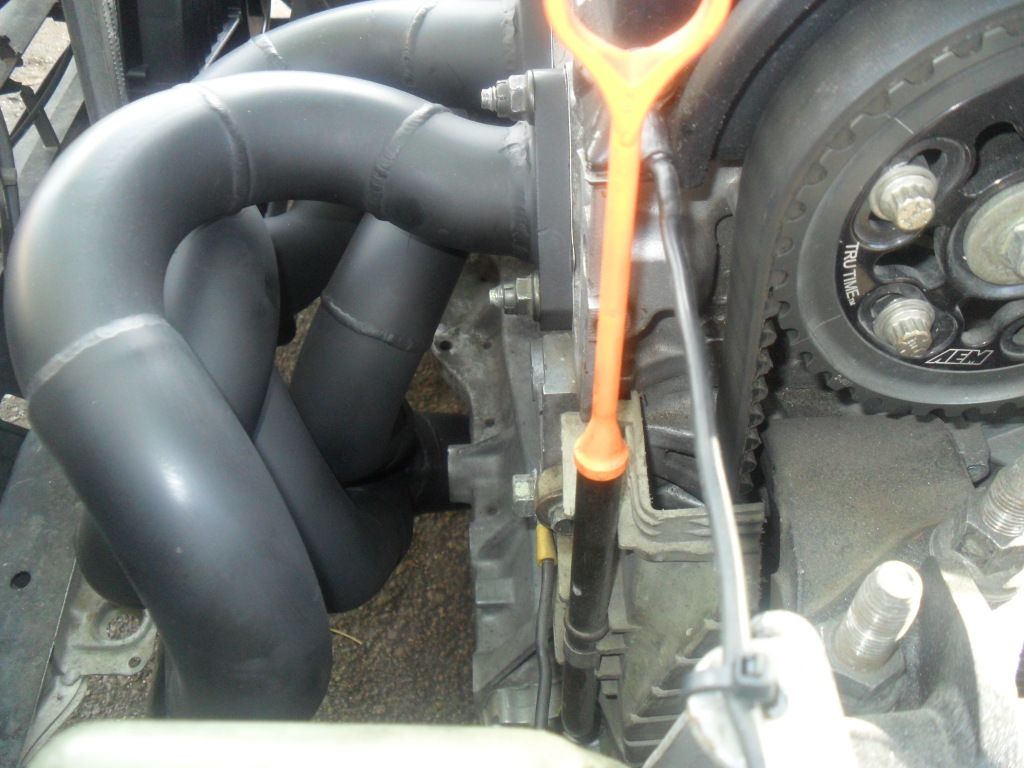
You can see where I bashed in the unibody to make room for the megaphone. Now it has great clearance. I am so happy.
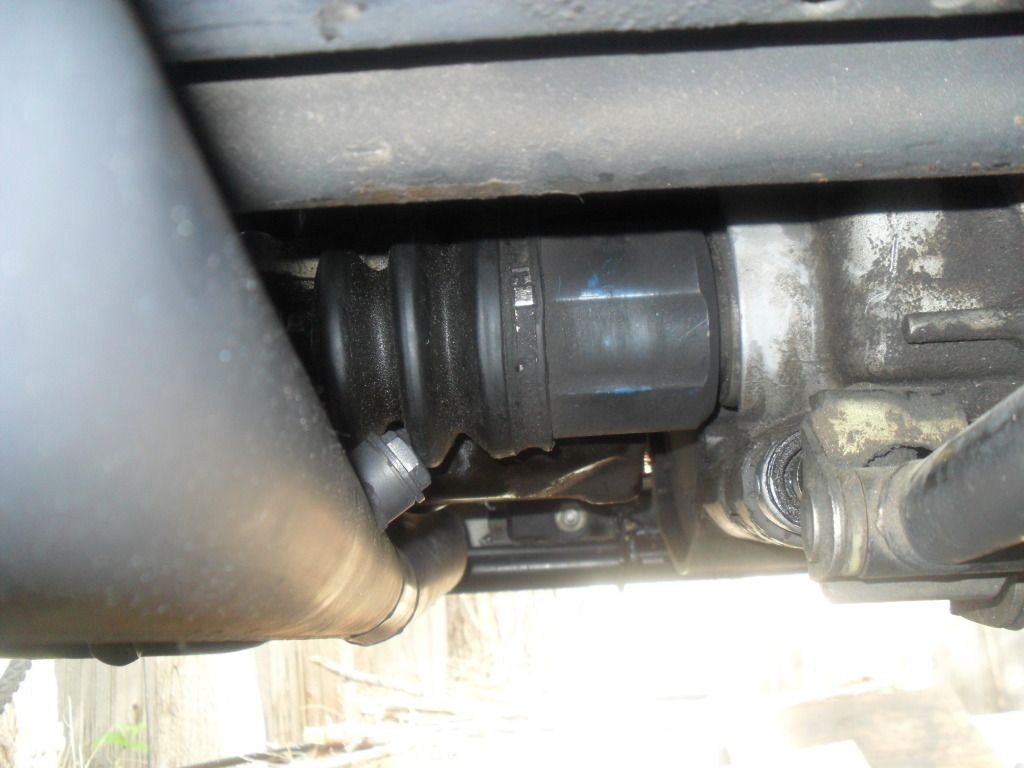
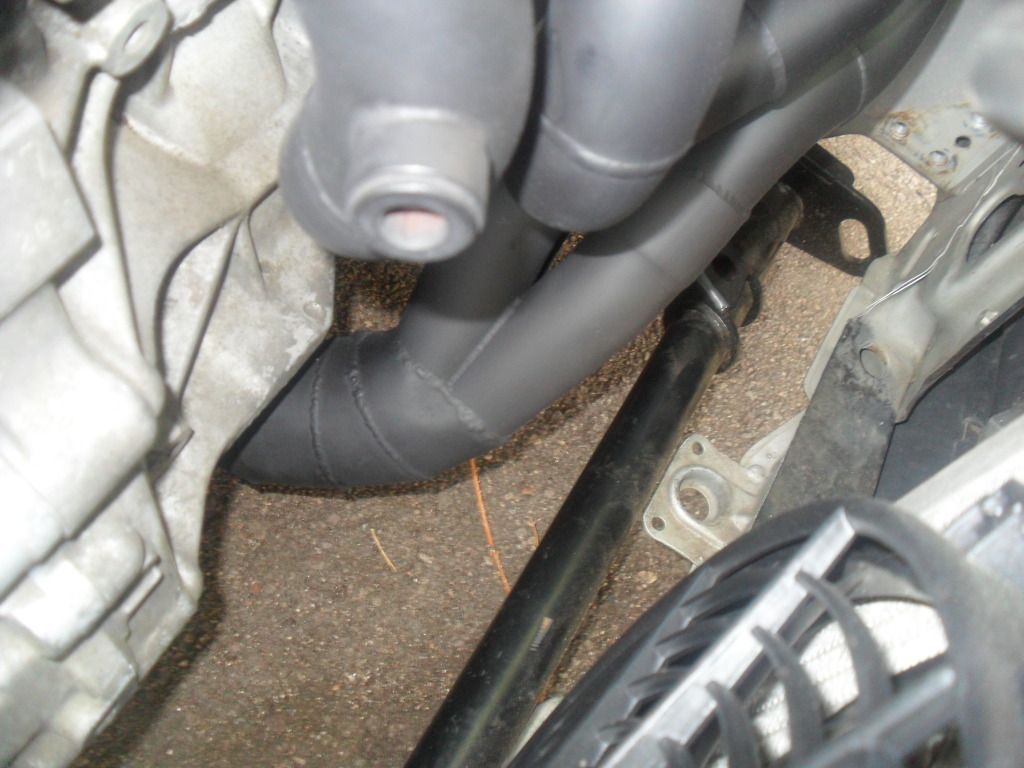
Looks can be deceiving...
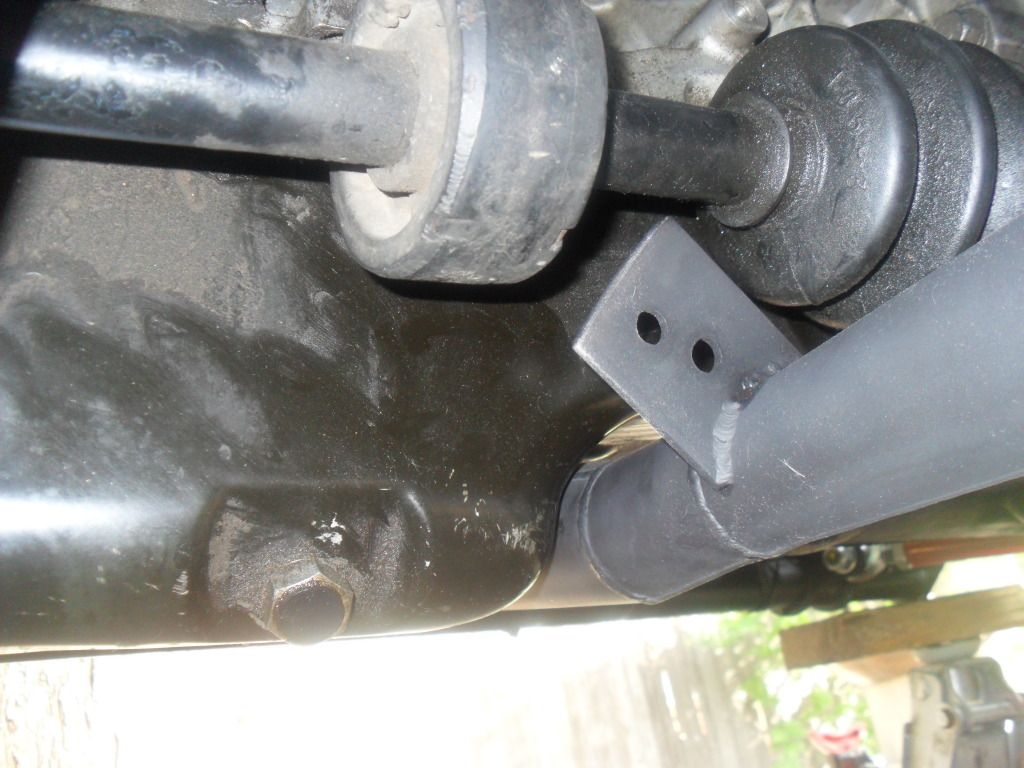
In the picture above the axle is hanging down as low as the suspension will allow it. There is still a 1/4" of clearance.
When I did the pull in the video, my engine puked out a little oil. Oil came out of the top hole within that black breather box on the back of my block. That hasn't happened before. I decided that I need to get serious with my crankcase evac and made a catch can.
I kept my catch can simple. The valve cover port goes to the side of the catch can and the block port goes to the bottom of the catch can. That way if my motor pushes oil out of the back of the block again it will go up the long line and into the catch can.
I don't want to be responsible for a mess at the track plus I want to monitor how much oil get pushed out per run down the quarter mile.
The first thing I did was purchase a 12 AN bock fitting from B&R Fittings. I have to give it up to these guys! My order was here in 3 days and the email communication was phenomenal. I also bought an 12 AN to 10 AN adapter from B&R. Here it is hiding out...

My catch can is a little different than most. I didn't want to spend $100 on a aluminum catch can. So I made my own out of this...

Here are my supplies....

I drilled a hole in the side of the Rockstar can for the block port fitting. I found the barb fitting at Lowe's.

Here's the side fitting JB Welded in...

I drilled a hole in the bottom of the can...

Here's an inside view...

And it JB Welded in...


Here's the end result with the fittings and JB Weld painted...

I'm waiting on one more fitting to shop from Jeg's. I also need to get an air filter for the lid.
That wasn't the only work I did. I told myself I would put any more work and money into MY custom header. Three people have worked on this header, Bisi, Matt and a local tig welding veteran Al. The header was perfect in every way except one- it was a little off on it's angle through the exhaust tunnel. Here's a pic of how it looked...


Matt instructed me where to cut it. I did so and marked the pipe where it would clear the exhaust tunnel. I took the header back to my friend, Al at Front Range Precision welding. This guy has been professionally tig welding for 35 years. Not only did he weld the header back together, he also found another damn crack on it. Thankfully he filled it in for me.
Since the megaphone is mild steel it began to rust quickly even though there isn't an ocean around for thousands of miles. I picked up a can of BBQ grill paint to coat the header. It's good up to 1200* degrees and only cost $5 at Ace Hardware.
Anyway, time for pictures!


You can see where I bashed in the unibody to make room for the megaphone. Now it has great clearance. I am so happy.


Looks can be deceiving...

In the picture above the axle is hanging down as low as the suspension will allow it. There is still a 1/4" of clearance.


Subscribe to:
Posts (Atom)